
DryIcons.com - Free Icons and Vector Graphics. Page 7 of 173. Creating Editable Letterpress Styled Text in Illustrator. A popular typography trend in web design and print design is letterpress styled text.
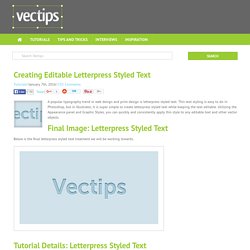
This text styling is easy to do in Photoshop, but in Illustrator, it is super simple to create letterpress styled text while keeping the text editable. Utilizing the Appearance panel and Graphic Styles, you can quickly and consistently apply this style to any editable text and other vector objects. Final Image: Letterpress Styled Text Below is the final letterpress styled text treatment we will be working towards. Tutorial Details: Letterpress Styled Text Program: Adobe Illustrator CS4Difficulty: BeginnerEstimated Completion Time: 5-10 minutes Step 1: Letterpress Styled Text Create a rectangle with the Rectangle tool (M) and fill it with a color of your choosing. Step 2 Type out some text with the Text tool (T) and chose a font.
Step 3 From the pop-up menu of the Appearance panel, choose New Fill. Step 4. 10 Wonderful Letterpress Type Tutorials. The letterpress type treatment (or as I call it, inset text treatment) can be easily done in Photoshop.
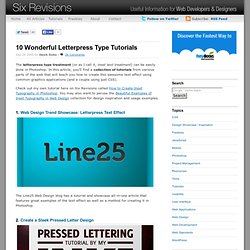
In this article, you’ll find a collection of tutorials from various parts of the web that will teach you how to create this awesome text effect using common graphics applications (and a couple using just CSS). Check out my own tutorial here on Six Revisions called How to Create Inset Typography in Photoshop. You may also want to peruse the Beautiful Examples of Inset Typography in Web Design collection for design inspiration and usage examples. 1. Veerle's blog 3.0 - Webdesign - XHTML CSS. Vector effects. Illustrator Shapes Tutorial by ~milkbun on deviantART. Swirl Mania in Illustrator & Photoshop. There are lots of ways to create swirls in Illustrator, you can even download vectors from sites such as bittbox and dezignus, and if you are using Photoshop you can download brushes with those sorts of symbols.
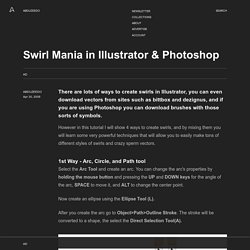
However in this tutorial I will show 4 ways to create swirls, and by mixing them you will learn some very powerful techniques that will allow you to easily make tons of different styles of swirls and crazy sperm vectors. 1st Way - Arc, Circle, and Path tool Select the Arc Tool and create an arc. You can change the arc's properties by holding the mouse button and pressing the UP and DOWN keys for the angle of the arc, SPACE to move it, and ALT to change the center point. Now create an ellipse using the Ellipse Tool (L). After you create the arc go to Object>Path>Outline Stroke. 2nd Way - Blend Tool(W) Vector Polishing Techniques. Someone emailed me and asked how did I do the illustration background on Next2Friends.
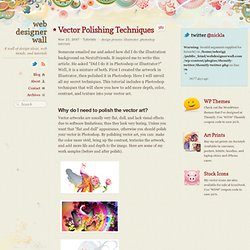
It inspired me to write this article. He asked "Did I do it in Photoshop or Illustrator? " Well, it is a mixture of both. First I created the artwork in Illustrator, then polished it in Photoshop. Here I will unveil all my secret techniques. Why do I need to polish the vector art? Vector artworks are usually very flat, dull, and lack visual effects due to software limitations; thus they look very boring. Technique 1: Lens Flare Effect First technique, let's start with one of my recent work on Next2Friends. I assume you have the vector artwork ready and you want to add a lens flare layer on top. If you want the lens flare to focus on specify area only, you can delete the unwanted area.
Sometime just the Lens Flare filter alone is not good enough. Technique 2: Colorful and Dusty Effect This is one of my common styles that can be found in most of my design work. Simple organic shapes the Illustrator way. In my post from a few weeks ago, I demonstrated how to create simple organic shapes in Photoshop.
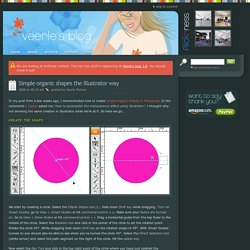
In the comments a reader asked me “how to accomplish the transparency effect using Illustrator”. I thought why not showing the same creation in Illustrator while we’re at it. So here we go… Create the shape We start by creating a circle. Now select the Pen Tool and click in the top right point of the circle where you have just deleted the segment of the path to redraw this part as shown above in the image on the left. Add Linear Gradient Mask Now select the Rectangle tool (M) and draw a rectangle on top of the shape as shown in the image on the right above.
Give the rectangle a linear gradient fill, going from white to black at an angle of 0°. Creating Seamless Textures In Illustrator. I think you’ll all agree that Illustrator is just plain awesome, and with the continual improvements we see with each new version, it keeps getting better and better.
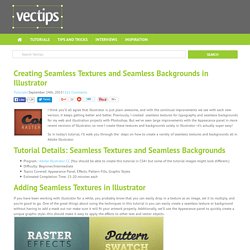
Previously, I created seamless textures for typography and seamless backgrounds for my web and illustration projects with Photoshop. But we’ve seen large improvements with the Appearance panel in more recent versions of Illustrator, so now I create these textures and backgrounds solely in Illustrator–it’s actually super easy! So in today’s tutorial, I’ll walk you through the steps on how to create a variety of seamless textures and backgrounds all in Adobe Illustrator. Tutorial Details: Seamless Textures and Seamless Backgrounds Program : Adobe Illustrator CC (You should be able to create this tutorial in CS4+ but some of the tutorial images might look different.)Difficulty: Beginner/IntermediateTopics Covered: Appearance Panel, Effects, Pattern Fills, Graphic StylesEstimated Completion Time: 15-20 minutes each Raster Effects.