
Make your own labels cheap! I made real clothing labels for less than $13?

No really. I am not a magician... or a mime. But I don't know what that has to do with anything. When I first thought it might be nice to have labels sewn into the things I made for my kids (mostly so my 3-year-old could know front from back) I looked into woven labels... and quickly gave that idea a big fat "Psssshaaaaa". As in, "Pshaaaaa right! Once your jpg is uploaded, it should look something like this. Now here is where I admit I messed up. I ordered the quilting weight in a fat quarter.
About a week later.... it arrived. The one on the right is the first batch I ordered... too small! Check out all those labels! Cut those suckers out. Iron in all 4 sides. Stitch all the way around. Done! Fabric Labels Tutorial. Many people have asked me how I make my labels so I have decided to make this little tutorial including pictures and any little tips that I have learned along the way.
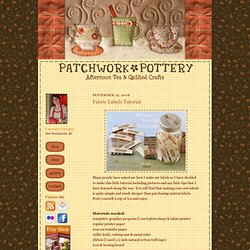
You will find that making your own labels is quite simple and much cheaper than purchasing custom labels. Pour yourself a cup of tea and enjoy. Materials needed:computer, graphics program (I used photoshop) & inkjet printerregular printer paperiron-on transfer paperutility knife, cutting mat & metal rulerribbon (I used 1/2 inch natural cotton twill tape)iron & ironing boardscissors Step 1: Design your image using your program of choice working with a resolution of 300ppi for a clear image. The height of your image should be smaller than the width of your ribbon. Step 2: Print your labels. Step 3: Cut out the images preferably into long strips using your utility knife, cutting mat and ruler. Step 4: Iron the transfer onto the ribbon. Step 5: Peel off the backing paper. Step 6: Use them!
DIY Custom Fabric Labels. Custom clothing labels using iron-on transfers (©2005, www.grumperina.com.
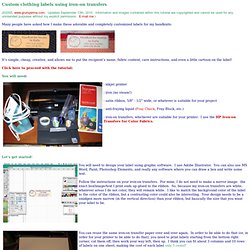
Updated September 13th, 2010. Information and images contained within this tutorial are copyrighted and cannot be used for any unintended purposes without my explicit permission. E-mail me.) Many people have asked how I make these adorable and completely customized labels for my handknits: It's simple, cheap, creative, and allows me to put the recipient's name, fabric content, care instructions, and even a little cartoon on the label!
Click here to proceed with the tutorial: You will need: - inkjet printer - iron (no steam!) - satin ribbon, 5/8" - 1/2" wide, or whatever is suitable for your project - anti-fraying liquid (Fray Check , Fray Block, etc.) - iron-on transfers, whichever are suitable for your printer. Let's get started! You will need to design your label using graphic software. Follow the instructions on your iron-on transfers. You can reuse the same iron-on transfer paper over and over again. Ta da! All done!