
Craft Tutorials. Decoupaged Boxes. Decoupage Map Tray. Tile photo coasters. I made these for Mother's Day, but I didn't get it up here in time for you this year.
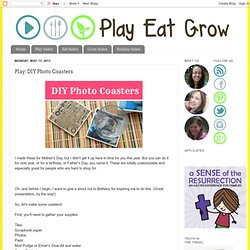
But you can do it for next year, or for a birthday, or Father's Day, you name it. These are totally customizable and especially great for people who are hard to shop for. Oh, and before I begin, I want to give a shout out to Bethany for inspiring me to do this. (Great presentation, by the way!) So, let's make some coasters! First, you'll need to gather your supplies. Tiles Scrapbook paper Photos Paint Mod Podge or Elmer's Glue-All and water Spray Sealant Felt Foam brush I made a set (actually several sets) of six coasters. You can use the name brand Mod Podge stuff, or you can make your own with a 1:1 mixture of Elmer's Glue-All and water. For the photos, I got them printed at my local CVS. After you've gotten your supplies, you need to back the tiles with felt.
Next, you need to cut out your scrapbook paper and photos to fit the tiles. Now, you are ready to start. Then use them! Fabric Post-it Note Holder Tutorial. I thought I'd share the craft I did with the kids class last week.
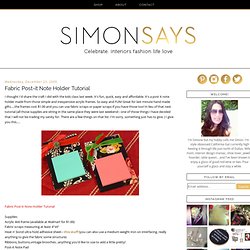
It's fun, quick, easy and affordable. It's a post it note holder made from those simple and inexpensive acrylic frames. So easy and FUN! Great for last minute hand made gifts.....the frames cost $1.00 and you can use fabric scraps or paper scraps if you have those too! In lieu of that nest tutorial (all those supplies are sitting in the same place they were last weekend-- one of those things I have decided that I will not be trading my sanity for. Fabric Post-it Note Holder Tutorial Supplies:Acrylic 4x6 frame (available at Walmart for $1.00)Fabric scraps measuring at least 4"x6"Heat n' bond ultra hold adhesive sheet-- this stuff (you can also use a medium weight iron on interfacing. really anything to give the fabric some structure)Ribbons, buttons,vintage brooches...anything you'd like to use to add a little pretty!
Steps:1. 5. 6. CD coasters. Magnetic memo boards: made from the dollar store! Madigan made... a dollar store burner cover magnet board.

I love cheap and simple projects! I first saw this idea at Brassy Apple (via Tatertots & Jello) and I've seen many other variations across blogland. Once I saw this project, I knew I wanted to make my own version. I found that the steps to making these magnetic memo boards were quite simple. - Pack of 2 metal burner covers (or a single pizza pie plate) from the dollar store - Spray paint - Sandpaper or file - Spray sealant. Wall Storage Folders. The whole idea of Wall Storage Folders was originally inspired by a little book purse Diane created and shared on Craftypod several years ago.

Diane's friend, Michele, who shares her crafty brilliance on Michele Made Me, inspired me to take this idea one step further and recreate these absolutely useful Wall Storage Folders from common ole everyday ubiquitous cardboard! The folder I am making in this tutorial happens to be the perfect place to store knitting and crochet patterns I have ordered and am planning to make this year!
It hangs right next to the shelves that house boxes and baskets filled with the yarn assembled for these projects. All very organized and pretty and inspiring! Two of the original folders that still hang on the wall near my computer and printer have been wonderfully useful for temporary storage of recipes, craft ideas and patterns that I have downloaded and printed. And if you prefer, use paper - old paper sacks will even work - instead of fabric. 1. 2. 3. 4. 5.
Lana's Podge. I have seen many tutorials on making your own version of Mod Podge that I just had to try it myself. For those of you that don't know what Mod Podge is: It's a glue that is normally used for decoupaging, but a lot of crafters also use it for pretty much everything else, because it attaches on almost every surface giving a sheer finish.The down part of Mod Podge is, is that it's kinda expensive. It's not as expensive to not make me buy it, but for some projects I could use a cheaper version. There are a lot of discussions going around saying that the homemade version is not the same thing as the 'real deal'. And let me just be clear by saying that this is not the same as Mod Podge. Decoupage a tiny tin. If you’ve ever read my blog, you may know that I appreciate teeny-tiny foods.
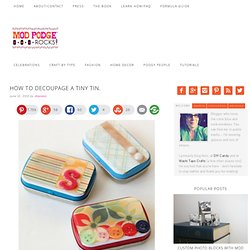
I can’t get enough when it comes to sweet little desserts and bite-sized appetizers.