
Ten Photo-Editing Tips From a Pro. Develop Module Lightroom Tips. Multiple Image Dust Spot Removal June, 2008 Lightroom has useful clone tool which can be used to remove dust spots.
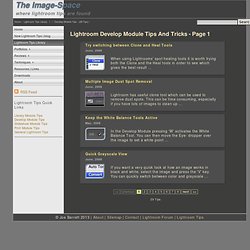
This can be time consuming, especially if you have lots of images to clean up ... Keep the White Balance Tools Active May, 2008 In the Develop Module pressing 'W' activates the White Balance Tool. You can then move the Eye- dropper over the image to set a white point ... Quick Grayscale View June, 2008 If you want a very quick look at how an image works in black and white, select the image and press the 'V' key. Learn Lightroom in a Week – Day 4: Editing Essentials.
In today’s tutorial we’ll continue our in-depth introduction to Lightroom by looking at the techniques and options for development and processing.
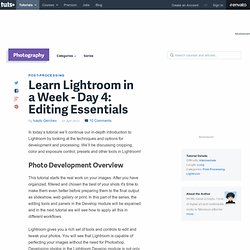
We’ll be discussing cropping, color and exposure control, presets and other tools in Lightroom! Photo Development Overview This tutorial starts the real work on your images. After you have organized, filtered and chosen the best of your shots it's time to make them even better before preparing them to the final output as slideshow, web gallery or print. In this part of the series, the editing tools and panels in the Develop module will be expained and in the next tutorial we will see how to apply all this in different workflows.
Lightroom gives you a rich set of tools and controls to edit and tweak your photos. Step 1: Quick Develop Panel The Quick Develop panel in the Library module gives you the ability to quickly make initial adjustments. Later on in this tutorial you will learn how to make develop presets, they can be applied here. Little Things Make the Big Difference – Editing in Adobe Premiere CS 5.5. About a month ago, Shane asked me to join the Elite Team as his editor.
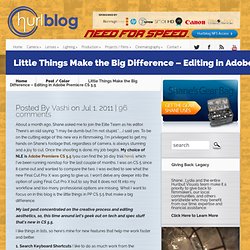
There’s an old saying: “I may be dumb but I’m not stupid.” …I said yes. To be on the cutting edge of this new era in filmmaking, I’m privileged to get my hands on Shane’s footage that, regardless of camera, is always stunning and a joy to cut. Once the shooting is done, my job begins. My choice of NLE is Adobe Premiere CS 5.5 (you can find the 30 day trial here), which I’ve been running nonstop for the last couple of months. My last post concentrated on the creative process and editing aesthetics, so, this time around let’s geek out on tech and spec stuff that’s new in CS 5.5. I like things in lists, so here’s mine for new features that help me work faster and better. 1. 2. Timeline is active and I hover cursor over Program panel and hit (`). Program Panel is MAXIMIZED and active. 3. 4. CROSS DISSOLVE transition FILM DISSOLVE transition 5. 6. Select clips in timeline and right-‐click to find UNLINK option 7. 8.
Vintage and Aging Photo Effect Tutorials – The Ultimate Round-Up. Although the world is all about modernization these days, people still long for the touch of something aged, vintage and well, old!
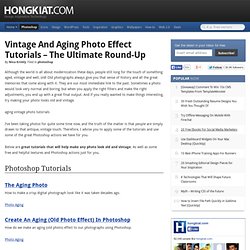
Old photographs always give you that sense of history and all the great memories that come along with it. They are our most immediate link to the past. Sometimes a photo would look very normal and boring, but when you apply the right filters and make the right adjustments, you end up with a great final output. And if you really wanted to make things interesting, try making your photo looks old and vintage. I’ve been taking photos for quite some time now, and the truth of the matter is that people are simply drawn to that antique, vintage touch. Below are great tutorials that will help make any photo look old and vintage. Photoshop Tutorials The Aging Photo How to make a crisp digital photograph look like it was taken decades ago. Create An Aging (Old Photo Effect) in Photoshop How do we make an aging (old photo) effect to our photographs using Photoshop.