
How-To: Duct Tape Roses. Tissue Flowers Tutorial, No.2 - gingerandgeorge. A couple of months ago, Jenny - the very lovely editor of PaperCraft Inspirations - asked me to work up a feature on different ways to use tissue paper.
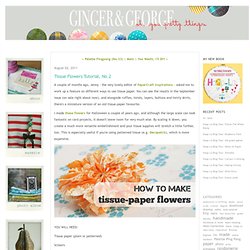
You can see the results in the September issue (on sale right about now), and alongside ruffles, twists, layers, buttons and twirly skirts, there's a miniature version of an old tissue-paper favourite. I made these flowers for Halloween a couple of years ago, and although the large scale can look fantastic on card projects, it doesn't leave room for very much else. By scaling it down, you create a much more versatile embellishment and your tissue supplies will stretch a little further, too. This is especially useful if you're using patterned tissue (e.g. Decopatch), which is more expensive. Tissue paper (plain or patterned) Scissors Ruler Pencil Thin wire (e.g. fuse or jewellery wire) Small button or circle of card PVA glue Measure and cut out two strips of tissue paper, each around 20cm long and 5-6cm wide.
X. Paper Flower Roundup. As promised, here is a roundup from around the web of some gorgeous paper flowers!
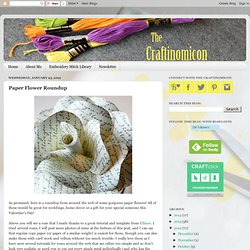
All of these would be great for weddings, home decor or a gift for your special someone this Valentine's Day! Above you will see a rose that I made thanks to a great tutorial and template from Ellinee. I tried several roses, I will post more photos of mine at the bottom of this post, and I can say that regular copy paper (or paper of a similar weight) is easiest for these, though you can also make them with card stock and vellum without too much trouble. I really love these as I have seen several tutorials for roses around the web that are either too simple and so don't look very realistic or need you to cut out every single petal individually (and who has the time to do all that?).
The rose template even comes in several colors so you could print it out onto white copy paper and get a variety of colors! Of course, no paper flower roundup is going to be complete without mention of my own tutorials! Paper Flowers. Paper Flowers – Anyone Can Do That. Japanese Kusudama, this tutorial is featured on Craftuts Anyone can do that, I assure you.

The proof: I can, just take a quick look at my result below. And, believe me, I am neither meticulous nor particularly patient. You could even say I’m the opposite. Below you can see my very first attempt to create paper flowers. What you will need to make your own Kusudama paper ball? 1. 3. Wire & Paper. A Tutorial: Fabulous Ric Rac Flowers » Matilda Jane Clothing Rocks. Let me start out with a warning or sorry of some sort.

The warning is because I have never done a Tutorial before, so I hope this is helpful and easy to follow. The sorry is for how horrible my nails look. I promise I did them after looking through these pics. WOW! I thought I would start off with a Flower, I too, just learned how to make. Material: Time-Roughly 20 minutes about 28 inches of Ric Rac ( This will make a flower about 2 inches in diameter) Suggestion: The thicker the Ric Rac the better Felt (Any Color) One sheet will be fine depending on how many flowers you want to make. Optional: Hair Clips, leaves or buttons Step One: Take the two pieces and hot glue them together. Rick Rack Rosettes. A friend gave me this flower ring and necklace, when she handed them to me I thought they were porcelain–there’s a very vintage feel to them.
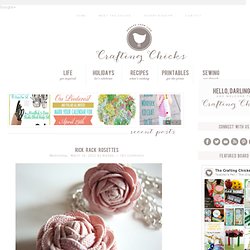
From a distance you really can’t tell that they’re made out of rick rack! Yes, rick rack! She shared how to make them with me, and now I’m sharing with all of you readers! The wow of the rosette comes from a few simple steps! She found this tutorial, in Portuguese I believe. First, cut 2 strips of rick rack. Then twist the two pieces of rick rack together, like this. And then run a stitch down one side to hold it all together. Like so. And to make the flower, you just start from one end and roll it up. Keep rolling. Until you have this–and then tuck the little tail under and hot glue it down. You’ll notice all of the petals are closed, so to open them up you just peel them back one by one.
And here it is on my finger. Awesome. (Please excuse my hands, my hand model moved to Indiana, so I’m left using what I’ve got.