
10 Best Typography Tutorials. Easy Casino Style Sign in Photoshop. A few weeks ago while walking on the streets of NYC, I saw this big billboard of a movie called Burlesque ( What really caught my attention was the effect applied in the text, sort of those old signage that casinos used to have.
I loved that effect and thought it would be a good exercise trying to do that in Photoshop. So in this tutorial I will show you how to create a very nice light effect using basic filters, layer style, blend modes and some stock photos. The whole process won't take you more than 45 minutes and the level of this tutorial is in my opinion easy, but it require some attention to the details. Step 1 Open Photoshop and create a new document, the size I'm using is 1113x1440 pixels. Step 2 With the text layer selected go to Layer>Layer Style>Drop Shadow.
16 Best Photoshop Tutorials for Creating Web Designs. Tutorials for creating web designs are a great way to learn new techniques and get inspired by new design concepts in web industry.
And since Adobe Photoshop is the tool of choice for numerous web designers, I thought it would be useful to show you, here are the best Photoshop tutorials for creating web designs and web design elements. Create Super Glossy 3D Type. In today’s tutorial we will demonstrate how to create super glossy 3D typography using Illustrator and Photoshop.
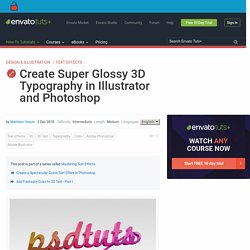
Let’s get started! Open Illustrator and create a new RGB document, 1000px by 800px, 72 DPI, and write your text in a nice big font. I've used Marketing Script size 234pt. Next, with you text selected, go to Object > Expand, and hit ok on the pop up window. Our text is no longer editable as text, instead it's a series of paths that we can edit with the direct selection tool. Currently, our letters are separate objects grouped together, we want them to be one single compound path.
With the Pen Tool (P) selected, draw a new path starting from the last flick of the last letter s, and swirling its way down underneath our type. Change the Stroke Weight of our new path to a size that matches the width of the text path that it will be joining. Duplicate this path by dragging the Group's thumbnail (in the layers palette) to the New Layer button. How to Give a Cool Retro Analog Effect to Your Photos.
Back in the years of analog photography defect was part of the job for photographers.

Color washes, light leaks, vignettes and blurs were all common problems that were faced during the processing of film, particularly from lower quality cameras or simply because of the human mistake. Create A Floral Colorful Solid Text Effect. Photoshop Text Effects Beautiful lighting Text effect In Photoshop Tutorial. Super Easy Typographic Portrait in Photoshop. Last year we posted on Abduzeedo a very cool post about typographic portraits, the 45 Amazing Type Faces - Typographic Portraits became one of the most popular posts on Abduzeedo, and a lot of people asked me how to create that effect in Photoshop.
Text Effects. Retro TextReviewed by Ross Aitken on Jul 15Rating: Preview of Final Results Retro Text Photoshop Tutorial This tutorial will kind of be split into two parts, the second part starting at step 19.The first part will cover the creation of the text and then editing this text in Photoshop.
The first part will require Adobe Illustrator as well as Photoshop. The second part covers adding the animation in through Photoshop, this will mean you have to have Photoshop CS3 extended version as we will be using video layers. How to Create a 3D Text Photo Manipulation. By Tyler Denis In this intermediate-level graphic design tutorial, you’ll learn how to realistically superimpose a beautiful three-dimensional text object onto a living room scene with the help of Illustrator and Photoshop.
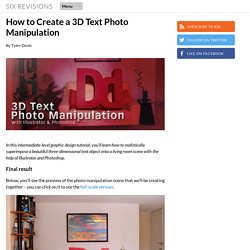
Final result Below, you’ll see the preview of the photo manipulation scene that we’ll be creating together – you can click on it to see the full-scale version. Let’s get this thing rolling, shall we? Opening the stock photo in Illustrator. Colorful Glowing Text Effect in Photoshop. After seeing some recent Type work by Vicenç Fontanet (or, Drasik), in his recent project for “Miniblack“, I just had to give the effect a shot myself in Photoshop.
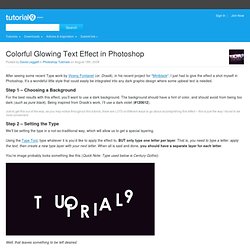
It’s a wondeful little style that could easily be integrated into any dark graphic design where some upbeat text is needed. Step 1 – Choosing a Background For the best results with this effect, you’ll want to use a dark background. The background should have a hint of color, and should avoid from being too dark (such as pure black). Being inspired from Drasik’s work, I’ll use a dark violet (#120612). Just to get this out of the way, as you may notice throughout this tutorial, there are LOTS of different ways to go about accomplishing this effect – this is just the way I found to be most convenient. Step 2 – Setting the Type. Create a Tough Metal Text with Photoshop.
For this post, we will teach you a Photoshop tutorial that will create a tough metal text effect.
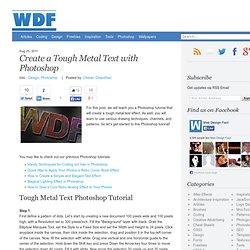
As well, you will learn to use various drawing techniques, channels, and patterns. So let’s get started to this Photoshop tutorial! You may like to check out our previous Photoshop tutorials: Step 1 First define a pattern of dots. Let’s start by creating a new document 100 pixels wide and 100 pixels high, with a Resolution set to 300 pixels/inch. Now drag two more guides to the center of the selection as in the image below.