
Perfect Bound. By Arounna Khounnoraj of bookhou I wanted to do a project using some vintage wallpaper I had kicking around. If you like, this project is also good for recycling and reusing some other types of papers. This project is fun and fast and makes great gifts or for your own use. what you need: -paper for the cover (I used wallpaper - you can experiment with different weights and thickness) -small piece of craft paper (2.5 x 5 in.) for the spine -recycled bond paper for the inside of the book (cut to 4 x 5 in.) approx 60 sheets -cutting mat -exacto knife -two large clips -two pieces of thin wood 1 x 6 in. -brush -white glue step 1: after your paper has been cut to size stack the papers together with the covers on the outside - place the two pieces of wood on the outside and place a clip on the top.
Step 2: place another clip on the side and proceed to brush the glue on the edge of the book. it's good to let it dry in between layers - I put on four layers. Envelope Clutch. I made a cash envelope clutch in January for the Paper Craft Planet challenge, and had a few requests on how to assemble it.
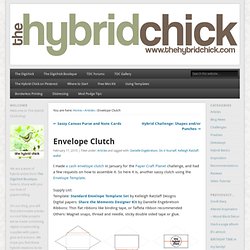
So here it is, another sassy clutch using the Envelope Template. Supply List: Template: Standard Envelope Template Set by Kelleigh Ratzlaff Designs Digital papers: Share the Moments Designer Kit by Danielle Engebretson Ribbons: Thin flat ribbons like binding tape, or Taffeta ribbon recommended Others: Magnet snaps, thread and needle, sticky double sided tape or glue.
For the paper clutch, I printed two of the envelope templates on both sides of the paper, one for front flap & back body, and the other one for the front body. I cut out some flaps and added extra score lines to make into a clutch. If you want, you could enlarge the templates a bit to make it bigger than the envelopes that will go inside. Coat with a glossy glue/sealer like Mod Podge to make it sturdier. Add the double sided tape on the bottom flap (front body piece) to the other piece. Flatten it down. Monster Bookmarks. This project comes to you at the request of Twitterer @GCcapitalM.
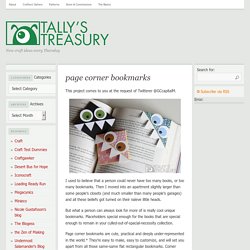
I used to believe that a person could never have too many books, or too many bookmarks. Then I moved into an apartment slightly larger than some people’s closets (and much smaller than many people’s garages) and all these beliefs got turned on their naïeve little heads. But what a person can always look for more of is really cool unique bookmarks. Placeholders special enough for the books that are special enough to remain in your culled-out-of-spacial-necessity collection. Page corner bookmarks are cute, practical and deeply under-represented in the world.* They’re easy to make, easy to customize, and will set you apart from all those same-same flat rectangular bookmarks.
If you like this tutorial, here are a couple others that might be up your alley. For the monster-loving adults in the room, try some googly-eyed paper monster wine charms. What you’ll need: Putting it all together: 1) Follow steps 2 and 3 from above.