Sewing Patterns: Women's: Dresses: 1940s. Tutorial: Reversible Fabric Gift Box. A few weeks ago, Lo and I ordered dinner from a lovely locally-owned Thai restaurant.
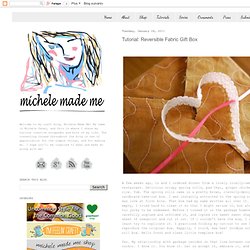
Delicious crispy spring rolls, pad thai, ginger chicken with rice. Yum. The spring rolls came in a pretty brown, cleverly-designed, cardboard take-out box. I was instantly attracted to the spring roll box. It was love at first bite. Yes. In today's tutorial, I will show you how I made my new-fangled version of the box. Tutorial: Reversible Fabric Gift Box You will need: 2 roughly 14" x 18" scraps of fabric in whatever colours you desire1 roughly 14" x 18" scrap of fabric to place between the other 2 pieces (You may want to use interfacing instead. 1. 2. 3. 4. 5. 6. 7. 8. 9. 10. 11. 12. 13. 14. 15. 16.
And that's it! Place your gift inside, attach a ribbon and maybe an egg carton flower, and you're off to bring joy into someone's little world! Now this box has at least two personalities. Unfold it, reverse it, refold it, behold it! And there you have it: a whole different gift box! Tutorial Revisit - Teddy Bear Swim Needle and Hook Book. Here is a tutorial that I published as a guest-post over at Sew Can Do on the 23rd of July, 2010.
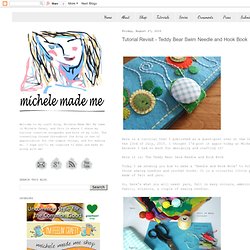
I thought I'd post it again today at Michele Made Me because I had so much fun designing and crafting it! Today I am showing you how to make a 'Needle and Hook Book' to hold all of those sewing needles and crochet hooks. It is a colourful little project made of felt and yarn. So, here's what you will need: yarn, felt in many colours, embroidery floss, fabric, scissors, a couple of sewing needles. Now, my design process is kinda simple. Here, I chose blue. From my other coloured scraps, I very uncarefully (no templates here) cut out a bunch of differently sized circular shapes. Tutorial: Handmade Covered Buttons. I LUV covered buttons!
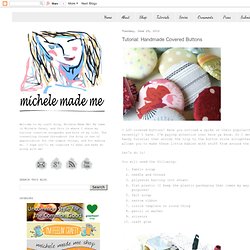
Have you noticed a spike in their popularity recently? I have. I'm paying attention over here ya know.
My Blue Jean. KiDZ. PrOjEctS. Essential. FeLt Me. TiPs. Oh BaBy. HOW2. QUICK FIX. PATTERNS. C.R.A.F.T. Sewing. Guest Blogger - A to Zebra Celebrations - Rose Ball Tutorial! This is the tutorial for the rose balls A to Zebra Celebrations used in her daughter's birthday party.
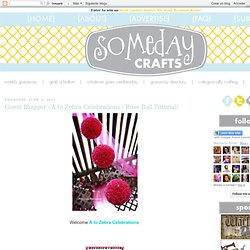
A little story about these. I was in Los Angeles, CA this past March. I went shopping with my aunt. We walked into this little store downtown and they had some gorgeous rose balls hanging from the ceiling. I asked the clerk if they were for sale and she said "yes". Take the roses apart and get rid of all the greenery. Take your glue gun and add some to the stem. Stick it in the ball right away before your glue dries. Your rose will look like this when you let go. I added some hot glue inside the petals to make them look tighter. Then add another rose, and another, and another....until your ball is full You want to stick them pretty close together so you have no white spots showing .
And here's what your rose ball will look like!! Here's where I used them for my daughter's party! I also used one of them for this zebra photo shoot and just put it on a candle holder.