
How to use Photoshop's new Match Font tool to identify fonts used in photos and designs. How to Create a Geometric Collage Text Effect in Adobe Photoshop. Design.tutsplus. Photoshop in 60 Seconds: How to Create a Portrait Quote. Photoshop in 60 Seconds: How to Create a Text Portrait. How to Combine Photography & Type for a Dramatic Effect. How to Create a Double Exposure Inspired Text Effect in Adobe Photoshop. How to Create a Fur Action Text Effect in Adobe Photoshop. How To Create a Vintage Film Title Text Effect in Photoshop. In today’s Adobe Photoshop tutorial we’re going to have some fun replicating the classic film title styles from old black and white movies of the 30s and 40s.

Three dimensional effects were often used, along with low key lighting. To replicate these aesthetics in Photoshop, we’ll make use of the 3D feature available in version CS6 and beyond, which will automatically generate realistic lighting and shading to our text. The artwork I’ll be creating for this tutorial is based on the fictional movie title “The Phantom”. Most of the hard work is done by Photoshop’s 3D functionality. Just some configuration of the settings is all that’s required to produce the three dimensional effects and the chamfered text face, along with the associated lighting and shadows.
Begin by creating a canvas at your chosen dimensions. Create Light Painted Typography From Scratch in Photoshop. How to Create a Steampunk Inspired Text Effect in Adobe Photoshop. How to Create a Bold Floral Text Effect Quickly in Adobe Photoshop. How to Create a Camo Fabric Text Effect in Adobe Photoshop. Making a Print-Ready Business Card Using Only Photoshop. In this tutorial, we are going to design up a simple business card in Photoshop and get it ready for print with crop marks and bleed.
Normally you'd do some of this with a tool like InDesign, but it is in fact possible to get by with just our trusty old Photoshop. Calling Card Competition Over at our sister site FreelanceSwitch, there is a competition to make business cards using vectors from a special Arsenal sample pack. So if you'd like to Win $370 worth of vector gear, head over and put in your entry! I actually had to make an example card for the write-up, and while making it, decided to write a tutorial for what I was doing (which is what you are about to read :-) ) Step 1 Ok, so the very first thing we need to do is create a New Document. When sending things off to printers however, you need to add a sort of border around the image called a Bleed. Because of a quirk of Photoshop (which you'll see later) we're going to use a value of 3mm. Step 2 Step 3 Step 4. 15 Fresh and Quality Text Effect Tutorials.
Text effect tutorials have always been popular amongst Photoshop users.

However, many roundups tend to focus upon the same old classic posts. This post hopes to expose some fresher text tutorials to inspire you today. I’m sure you may have seen some of these before, but hopefully you haven’t encountered all of them (I know I hadn’t before compiling this post). Enjoy! Photoshop 101: How To Create and Use Clipping Masks. A clipping mask is a quick way to create masked effects that show and hide parts of images or photos.
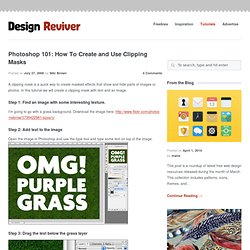
In this tutorial we will create a clipping mask with text and an image. Step 1: Find an image with some interesting texture. I’m going to go with a grass background. Download the image here: How to make a see-through to image text effect in Photoshop. This is a really simple trick to creating an ordinary photograph with some text into an engaging image.
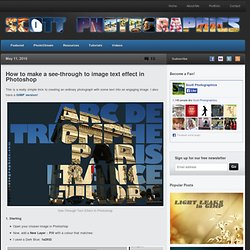
I also have a GIMP version! See-Through Text Effect in Photoshop 1. Starting. How to Create a Steampunk Type Treatment in Photoshop. I don’t know what it is about steampunk style that’s so appealing.
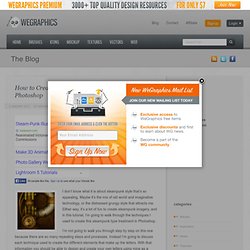
Maybe it’s the mix of old world and imaginative technology, or the distressed grungy style that attracts me. Either way, it’s a lot of fun to create steampunk imagery, and in this tutorial, I’m going to walk through the techniques I used to create this steampunk type treatment in Photoshop. I’m not going to walk you through step by step on this one because there are so many repeating steps and processes. Instead I’m going to discuss each technique used to create the different elements that make up the letters. With that information you should be able to design and create your own letters using mine as a reference point. Here’s a look at the finished type treatment. Pipes First up, lets take a look at the technique used to create the pipes. This is the same style I applied to all of the pipes. The shine applied to the pipes in the above image, are simple selections that are filled with a white to transparent gradient.
Hoses. Creating Retro Folded Typography Using Photoshop. In this Photoshop tutorial, we’re going to create retro-looking text that seems like it’s constructed using folded strips of paper.
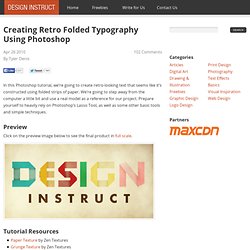
We’re going to step away from the computer a little bit and use a real model as a reference for our project. Prepare yourself to heavily rely on Photoshop’s Lasso Tool, as well as some other basic tools and simple techniques. Preview Click on the preview image below to see the final product in full scale. Tutorial Resources Paper Texture by Zen TexturesGrunge Texture by Zen Textures Step 1: Working away from the computer. How to Create an Abstract Wireframe Text Effect. In this text effect tutorial we will demonstrate how to create an abstract wireframe text effect.
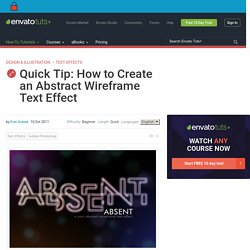
Let's get started! Let's start by creating a new document which is 900 px wide and and 600 px high at a resolution of 300 pixels/inch. Make sure the Color Mode is set to RGB. Fill the "Background" layer with Black. Get the Type Tool and type your text. While the text layer is selected on the Layers Palette, hit Command/Ctrl + E to merge the text and the "Background" layers. Now go to Filter > Distort > Wave and use these settings: Type: Square, Number of Generators: 1, Max Wavelength: 635, Min. Creating a Typographic Wallpaper. After writing my previous tutorial here about Creating a Zune in Photoshop, several viewers asked if I’d share how I created the wallpaper graphic.
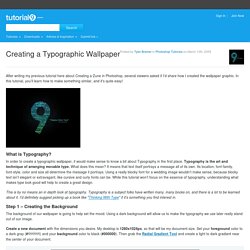
In this tutorial, you’ll learn how to make something similar, and it’s quite easy! What is Typography? Create a Crisp Metallic Text Effect in Photoshop. In this quick tip tutorial, we will explain how to create a crisp, metallic text effect using just a couple of layer styles in Photoshop.
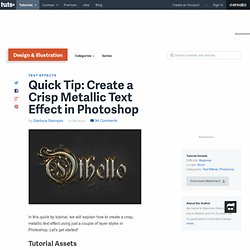
Let's get started! Tutorial Assets The following assets were used during the production of this tutorial. Step 1 Before opening Photoshop, install the font Rothenburg Decorative and these grunge brushes.Open Photoshop and Create a New Document, 1800 x 1300 pixels in RGB mode, 72 DPI and finally then Fill the background with this dark grey color #1f1f1f.
Step 2 Create a New Layer, name it 'texture' and using these Grunge Brushes click a couple of times in the center of the document using a white color. Step 3 Double-click on the thumbnail of the Layer 'texture' to open the Layer Style panel. Step 4. Playing with Timeline in Photoshop CS6. Photoshop CS6 has some great features, one of them is the new timeline for basic animations and this time Photoshop gets a little bit of the After Effects taste. As the idea of the blog is to play with these tools, we decided to come up with something for this new feature. So in this tutorial we will show you a simple animation using the new timeline and some light effect tricks. The whole process is super simple and won't take you more than 20 minutes. Create a Picture with Words.
I love Photoshop techniques that offer all kinds of possibilities for experimentation—and the following tutorial is a perfect example of one of those techniques. In this issue, we’re going to take a portrait and replace the person’s image with text (think 2009 Grammy posters). Pick a portrait that offers good contrast—a photo that’s very dramatic and dark probably won’t work as well. I’ve had the best success with straight-on head and shoulder shots, but again, feel free to experiment with all types of photos.
For the best results, choose a photo that has a light background (or select the background around the person and make it lighter). Create a new document (File>New) in a size that’s smaller than your photo: the specifics don’t really matter. Switch back to the photograph. Then, press Command-J (PC: Ctrl-J) to copy the selected pixels onto a new layer. Go back to the Select menu and choose Color Range again. Click the Create a New Layer icon at the bottom of the Layers panel.