
Creature ComfortsCreature Comforts. Kayte Terry (Stylist/ crafter / blogger / author extraordinaire) wrote to me a little bit ago and asked if I thought you all might appreciate a crafty tutorial. Of course you would… right?!!! So because Kayte is such a sweetie, she created this fabulous Fabric Flower Garland project (plus tutorial) for us to try out this weekend (even though it is close to the Holidays, you can use this project for a decorative or party accent all year round). Make it your own by using fabric scraps you have laying around in your favorite colors and patterns. You could even add beads, pom poms, or any matter of goodness to make this project perfectly you. For more amazing D.I.Y. projects be sure to check out Kayte’s book: Complete Embellishing and look for her new book coming out in 2009 (published by Chronicle Books )! I’ll can’t wait to make this garland myself today. What you need (makes one three yard string): Download Flowers Template Thanks again to Kayte for this wonderful project!
Little Things Bring Smiles: .Felt Fun. Can I just say--"I AM SO EXCITED, AND I JUST CAN'T HIDE IT!
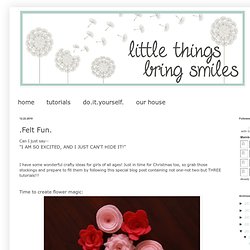
"I have some wonderful crafty ideas for girls of all ages! Just in time for Christmas too, so grab those stockings and prepare to fill them by following this special blog post containing not one-not two-but THREE tutorials!!! Time to create flower magic: Materials needed for this DIY Craft: - Headbands - Alligator Clips - Pins (with a flat edge on top) - Felt - Hot Glue - Hot Glue Sticks - Scissors - Pen/Pencil - Buttons - Various sized circular items (I used a cd, drinking glass, a vitamin jar, and a spice holder--look around your house for circular items to trace!) Let the FUN begin! Making Your Felt Flower: Rose Style 1. 2. You) 3. Hint: It is a good idea to use ink of the same or similar color as the felt so it does not show up on your final felt flower. Tutorial so it is easier to see :)
Pointed Flower Tutorial. I love making these cute flowers.
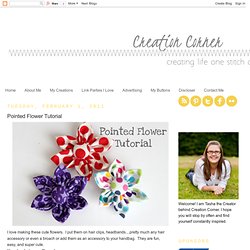
I put them on hair clips, headbands....pretty much any hair accessory or even a broach or add them as an accessory to your handbag. They are fun, easy, and super cute. Here is what you will need: Scraps of Fabric Scissors Needle and thread Hot glue and glue gun scraps of felt Fabric covered button supplies (or you could place a regular button or other item in the center.) First you will trace 6 circles onto your piece of fabric. You can make these circles whatever size you want. Cut all 6 of your circles out. Fold each circle in half. Then fold them in half again. Grab your needle and thread. Keep stringing each folded circle onto your thread gathering them in. When you are done doing this to all 6 of the folded circles it should look something like this. Then add a fabric covered button out of the same fabric.
Tutorial ~ She Wears Flowers. A few weeks ago, I did a guest post for Tatertots and Jello and shared this tutorial.
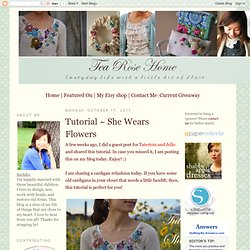
In case you missed it, I am posting this on my blog today. Enjoy! :) I am sharing a cardigan refashion today. If you have some old cardigans in your closet that needs a little facelift; then, this tutorial is perfect for you! This is one of my favorite cardigans; I wore it for several years. {You will need} A cardigan 100% cotton fabric that would match the cardigan (it doesn't need to be the same color, but it needs to either blend in with the cardigan, or have contrast and match with the flowers that you will accessorize the cardigan with) Various fabrics, wool, and buttons Matching thread {How to} {Assembly for the cardigan} 1. 2. 3. 4. 5. 6. 7. 8.
{How to make flowers and Yo-yo's} *Folded fabric flower1. 2. 3. *leavesCut 1" x 2" rectangle first, and trim them so they look like leaves.