
Living Well: 9 Secrets to Amazing Homemade Lemonade. This summer inspiration is brought to you by Target.
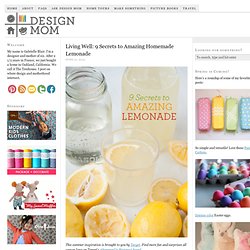
Find more fun and surprises all season long on Target’s #SummerUp Pinterest board. Text and photos by Lindsey Johnson for Design Mom. There is nothing that quenches my thirst on a hot summer day quite as well as an icy glass of fresh squeezed lemonade. I honestly cannot think of beverage I enjoy more. It’s tart and sweet and utterly refreshing. The Lazy Girl’s Timesaving Tips For Painting Wall Stripes. After seeing my friend Dusty’s striped half bath and the stripes that my friend Allison painted in her foyer, then all of us painting stripes on the wall in Natalie’s nursery and THEN drooling over all the beautiful striped walls that I’ve pinned lately, I decided that I needed some stripes, too.
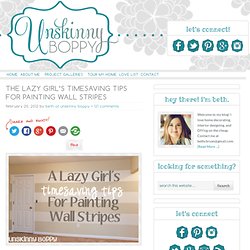
So, without further ado, lemme show you my new striped office walls! Gah, I’m such a follower. This whole project took me about three hours to complete with the help of my tall husband. Kids Crafts. My birds are back!
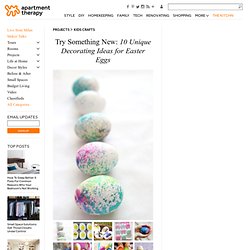
Last year, I got all up in nature's business and bought a bunch of bird feeders. I have a Nyjer feeder for my goldfinch flock, several standard mixed feeders and, of course, a hummingbird feeder. It's incredibly relaxing to sit in the yard and watch the birds go about their daily routines. If you're interested in bringing the kids in on the action, here are 10 great DIY bird feeders that kids can help make.
Handmade Vintage-Inspired String Holder. For these vintage string holders you’ll need a printable template, a jar, wine cork, punch, scissors, a utility knife, a glue gun, gloss enamel paint, a marker, acrylic paint, a paint brush, felt, wiggle eyes.
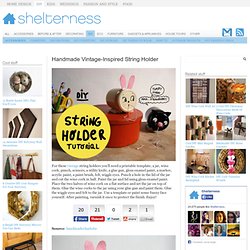
Punch a hole in the lid of the jar and cut the wine cork in half. Paint the jar and lid using gloss enamel paint. Place the two halves of wine cork on a flat surface and set the jar on top of them. Glue the wine corks to the jar using your glue gun and paint them. Glue the wiggle eyes and felt to the jar. Vintage floral statement necklace. I made it through Round 1 of One Month to Win It...phew!
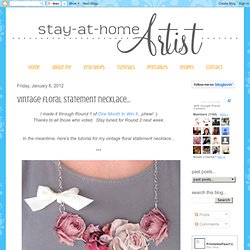
:)Thanks to all those who voted. Stay tuned for Round 2 next week.In the meantime, here's the tutorial for my vintage floral statement necklace... Week 1 Challenge - use vintage graphics from The Graphics Fairy. Cute DIY Vintage Purse Pendant. Home design DIY Kids Weddings Fashion and Style FOOD Jewelry Cool stuff Cute DIY Vintage Purse Pendant.
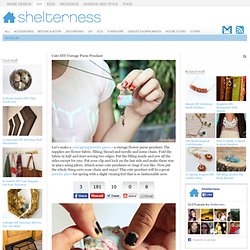
DIY Word Bracelet With Tassel. We’ve found a brilliant idea of a bracelet that can say anything for you.

You’ll need 22 to 26 gauge wire, thin gold chain, end cap, ring clasp, 5 small jump rings, round nose pliers, flat nose pliers, suede strips, sewing thread, e6000, a wire cutter, a pen and paper. Write your word or in cursive, all the letters are connected in one continuous line. Replicate your word using the flat nose and round nose pliers. Add a little loop to the beginning and end of the word, measure the circumference of your wrist. Take that number and subtract the length of the wire word. How To Make An Inspiring Photo Board For Your Thoughts. Instagram at home on your wall?

Yes, please! You’ll need styrofoam in different sizes, inspiring photos and images, glue, scissors, a knife. If there are no holes in your styrofoam, make some yourself using a sharp knife and measuring your photos (the shape of the cuts is up to you). Choose the pictures you love – your family, friends and relatives, any pictures of nature. Flip the board around and apply glue to the corners of each frame and put the picture on face down. Easy DIY Pegboard Your Kids Can Create Art On.
Bosch DIY - Project - Attractive light object. Donkey Kong Country Returns FAN ART SERIES Papercraft – www.DesktopGremlins.com – Easy-to-build Free Papercraft, Paper Model, Paper Toys. Little Reading Nook in the Corner. The TeePee! Last year I promised Elsie a teepee for Christmas but with more on my plate than I anticipated (duh!
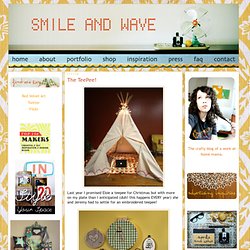
This happens EVERY year) she and Jeremy had to settle for an embroidered teepee! This year I was scheming to get it done before Christmas so she could enjoy the twinkly lights and coziness a little early. There were many occasions when I had to bite my tongue so I wouldn't let my excitement slip and I didn't want to let her know I was hoping to make one in case something else came up and I couldn't finish in time. The evening before I knew I'd have it finished for sure, I had Brett call Jeremy to make sure it didn't look suspicious in case Elsie were around. Once the coast was clear I took the phone and we arranged for him to take her out to dinner and for me to get the key to the loft from Erin who would be at work in the store below.
A Cascading Ruffle Skirt (A Tutorial and Free Download) Boo has a skirt similar to this made of chiffon and I wanted to recreate the cascading ruffle effect using lightweight t-shirt material for some fun fall skirts!
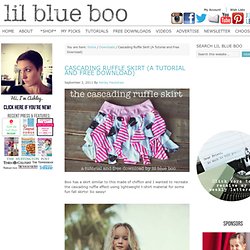
So sassy! I gave her some party streamers to play with in the yard last night so I could snap a few photos. (more after the jump) She paired her new skirt with a Vintage Lucy’s tank and some Lil Blue Boo leggings: Simplicity Sewing Pattern 3940 Child Jackets and Coats, A (3-8 and XS-XL) Doll bassinet tutorial: part 2. Welcome to part two of the doll bassinet tutorial!
I need to make my usual disclaimer to remind you that I am NOT a professional. I truly make this stuff up, so if you are an amazing sewer, you will probably read this tutorial and cringe like crazy over all the things I do technically wrong. I learned a lot from this first bassinet, and I actually made the second one very differently. However, if I made another bassinet, I would probably go back to this method. Please let me know if you have any questions. Hop over to part one for a complete materials' list and instructions for the lining. Here's what you do for the outside body of the bassinet:1) Pin quilt batting to the wrong side of the outside body fabric. 2) Quilt these batting and fabric pieces together however you want. 4) Pin bottom of body piece (piece with ribbon attached at top) right sides together all around the bottom body piece. 5) Sew around the edge where the body and the bottom meet. 13) Flip right sides out.
Done! Oopsy Daisy Baby Pettiskirts. Pocket Purse.