
Skin Tones Tutorial, skin, tone, skin tone. Why do we use a Pallette?
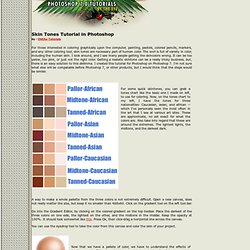
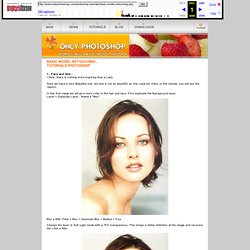
Our eyes can sometimes deveive us. Everyone's eyes see slightly different colors. One person will see a purple color, while another will see a blue. Those that are colorblind cannot distinquish some colors from another. Tutorial: Skin Tones in Photoshop. Photoshop Mama's Setting Skin Tone. Tutorials >> Enhancing Iris Color. Basic Model Retouching Photoshop Tutorial. Blur a little: Filter > Blur > Gaussian Blur > Radius = 5 px.
41 Nicest Photoshop Photo Effects [Photoshop Tutorials] Looking at how powerful Photoshop can be in terms of photo editing, it’s probably not important if you suck at taking photographs or being labeled an amateur photographer.
![41 Nicest Photoshop Photo Effects [Photoshop Tutorials]](http://cdn.pearltrees.com/s/pic/th/photoshop-effects-tutorials-537751)
As long as you picked up a couple of Photoshop photo editing skills, it will still impress those who sees it. So the next time you want to publish some photos online, consider editing them so they look more impressive. Add the Model Look to Your Portraits with These Photoshop Tips. I'm a professional landscape photographer living on the coast of Maine.
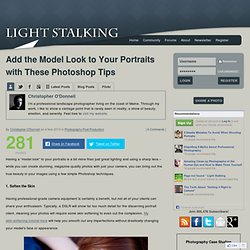
Through my work, I like to show a vantage point that is rarely seen in reality; a show of beauty, emotion, and serenity. Feel free to visit my website. By Christopher O'Donnell on in Photography Post Production Having a “model look” to your portraits is a bit more than just great lighting and using a sharp lens – while you can create stunning, magazine-quality photos with just your camera, you can bring out the true beauty in your images using a few simple Photoshop techniques.
Beauty Retouching. Beauty Retouching Photoshop 911 calls are numerous wanting to know how to remove blemishes from photos, give skin the fashion magazine look, or just how to get that certain glamorous fashion look.
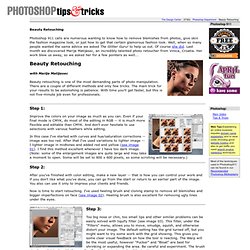
Well, when so many people wanted the same advice we asked The Glitter Guru! To help us out. Of course she did. Last month we discovered Marija Matijasec, an incredibly talented photo retoucher from Vinica, Croatia. Easily Give Someone A Digital Nose Job With Photoshop. Written by Steve Patterson.
In this Photo Retouching tutorial, we’re going to learn how incredibly easy it is to give someone a digital nose job (not that anyone we know would need it, of course!). This photo editing technique is so simple and easy, you’ll be tempted to use it on photos of people who honestly don’t need it. Or at least, that’s what you can tell them when they ask you why you made their nose smaller. You simply had to because it was so much fun and so easy to do! Seriously though, let’s face it, sometimes photos don’t do people justice, and even though in real life their nose may be a textbook example of what a human nose is supposed to look like, a wrong focal length setting on the camera lens, bad lighting or an unflattering angle can distort reality and make things look bigger than they really are. Here’s the image I’ll be working with in this tutorial.
The original image. Magnet Photo Frames - Making Nose Smaller. Smaller Nose Summary: Ever wondered what your nose would look like if it were smaller.
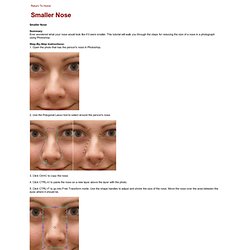
This tutorial will walk you through the steps for reducing the size of a nose in a photograph using Photoshop. Step-By-Step Instructions: 1. Open the photo that has the person's nose in Photoshop. 2. 3. 4. Photoshop Fashion Retouch - Shadowy, Sultry Eyes. Written by Steve Patterson.
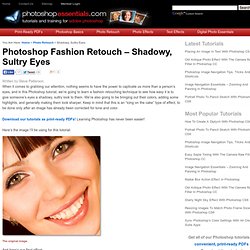
When it comes to grabbing our attention, nothing seems to have the power to captivate us more than a person’s eyes, and in this Photoshop tutorial, we’re going to learn a fashion retouching technique to see how easy it is to give someone’s eyes a shadowy, sultry look to them. We’re also going to be bringing out their colors, adding some highlights, and generally making them look sharper. Keep in mind that this is an “icing on the cake” type of effect, to be done only after an image has already been corrected for tone and color. Magnet Photo Frames - Change Eye Color. Change Eye Color Summary: In this tutorial, we'll take a photograph of a person's eyes and learn to change the color to whichever color we want.

Step-By-Step Instructions: 1. Open the photo that has an eye in Photoshop. 2. Go into Quick Mask mode. Photoshop Tutorial - Photoshopgirl.com. Have you ever thought “this is a good photo but it’s a little dull”?

Well this tutorial is here to help that problem by boosting the colors using Channels and Lab Color. Click the launch video button below to view. How to get perfect skin! Have you ever wished you could have perfect skin? Have you ever wished you could get rid of all the acne and pimples and blemishes and scars on your face? Now you can! Well, at least in your photographs. Do you have a near-perfect portrait of yourself, that is embellished by a pimple? 50+ Excellent Body Enhancement Photoshop Tutorials. Making a photograph of a person look amazing adds an extra dimension of professionalism to your design. These photoshop body enhancement tutorials will help you transform your people pictures to stunning models in next to no time. Most techniques involve similar use of the photoshop tools. Inspiration and Full Makeover Tutorials Digital Cosmetic Surgery This complete transformation is explained in simple steps.
Enhacement Examples Video showing virtual make overs on lots of different subjects. Correction Tutorials. Sometimes the only thing that keeps a good portrait from being a great portrait is a little too much shine on the skin. Here’s a quick and easy way to tone down those highlights. Step 1 Open the image, and add a new layer by tapping on the Add layer icon at the bottom of the Layers palette.
Name the layer “tone down”, and set the layer’s Blending mode to Darken. Step 2 Next, select the Healing Brush tool (Photoshop CS2 users, make certain it’s the Healing brush and not the Spot Healing tool). Step 3 Pull the opacity of the tone down layer by sliding the opacity arrow to the left until the glare areas look perfect.