

DIY Friendship Bracelet. For several months now, we’ve been receiving emails requesting a friendship bracelet DIY.
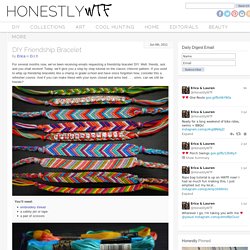
Well, friends, ask and you shall receive! Today, we’ll give you a step by step tutorial on the classic chevron pattern. If you used to whip up friendship bracelets like a champ in grade school and have since forgotten how, consider this a refresher course. And if you can make these with your eyes closed and arms tied . . . umm, can we still be friends? You’ll need:embroidery threada safety pin or tapea pair of scissors Start by cutting several strands of embroidery thread at about 24 inches each.
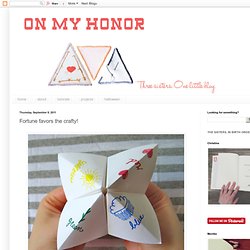
Start on the left side with the outermost color (shown here in red) and make a forward knot by creating a 4-shape over the 2nd color, loop it under and back through the opening. Pull up and to the right to tighten. Now pick up the outermost color on the right side (show here in red) and make a backward knot, creating a reverse 4-shape over the 2nd color, loop it under and back through the opening. Fortune favors the crafty! As promised, here's a tutorial for the paper fortune teller. 1.
DIY: Toy Animal Valentines. Looking to make some out of the ordinary valentines this year?
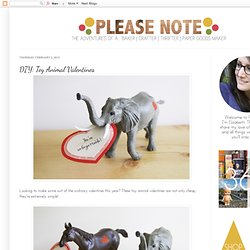
These toy animal valentines are not only cheap, they're extremely simple! What you'll need: toy animals (I found these in the dollar section at Target)paint (red or pink)a sawpaper (to make your valentine)glue or tape. Sunny Felt Mobile. If you're new here, you may want to subscribe to my Monthly Newsletter.

Thanks for visiting! My sister in law is due any day and I have a million ideas for things to make for the baby. I have real trouble picking what to actually make, but knew I wanted to do a mobile. I liked the idea of the happy little sun looking over the baby, so played around until I was happy with it. The sun, clouds and raindrops are made out of felt and I embroidered the face on the sun by hand with some perle embroidery thread.
And for those who are interested, here is a quick run down on how I put the mobile together: For the raindrops, I just cut each one out separately. You might also like... Gifting. I feel like such a dud when it comes to coming up with birthday gifts for my husband.
Now that we aren't students anymore (and still by no means wealthy mind you) we mostly can afford to buy what we need, so we mostly have what we need. And my husband works a lot so he doesn't have much time for hobbies, and I hate buying stuff just for the sake of buying it...you know what I mean? Every year I plan on trying to do something creative and meaningful, but I never quite pull it off in time. I'd love to surprise him with a fun trip, but he can barely make it home for dinner most nights so stealing him away (even for a weekend) seems out of reach.
Now that we have kids I usually try and give him a current photo of the kids, but even that is getting a little predictable. (Avery "decorated" this one) Also...I had planned on cleaning the whole house so it was sparkly, because frankly that is the thing that would make him the happiest, but I just couldn't get it done. Pixel Whisk: D.I.Y. Cake Stand. I've never collected much of anything, but I have to confess to an obsession with cake stands.
Everything looks a little more fancy and appetizing when it's elevated on a cute little pedestal. Needless to say, the last thing I need in my tiny NYC apartment is another cake stand. Well, I've never been very practical so lets get creative and make some anyway! Step 1: Visit your local thrift store and purchase an assortment of quirky wine goblets and plates or platters. I chose this green retro glassware because I loved the details.
Thrift stores have some of the most amazing hidden treasures. Random assortment. All you need is double sided coloured origami paper and a lot of patience!
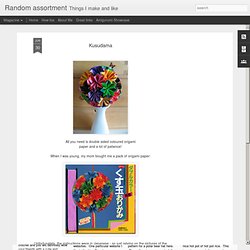
When I was young, my mom bought me a pack of origami paper: Unfortunately, the instructions were in Japanese - so just relying on the pictures of the diagrams, I attempted to fold the pieces to build this lovely Kusudama. I ended up giving up as I couldn't figure out how to do the final step. Many years later, thanks to YouTube, I was able to figure out how to flip the folds to make each individual shape! Mustache mug tutorial. A fun, easy and silly gift to give the cute men in our lives this Father's Day.
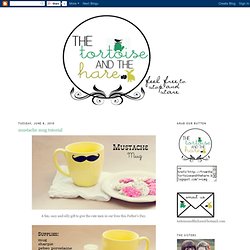
First, draw a mustache on the top of your mug with a sharpie marker. As you can see mine took a couple times to get right. Second, trace around the edges of the drawn mustache with your Pebeo pen. Next, fill in the mustache with your Pebeo gel stain. This is a picture of one coat. Be patient because it will take a couple of coats to get the look you are going for. Lastly, follow the directions of the stain. Ta Da...the cutest little mug I have ever seen.