
Little Letter Needle Book Tutorial - StumbleUpon. أنّ جدية سوبليمينل - For Jane - StumbleUpon. I was going to a DJ exhibition that was happening tonight BUT it was canceled so instead I made a quick and dirty smocking tutorial for aznenchantress.
What is smocking? It's a method of gathering fabric that provides stretch to an area. Dressmakers used it before the invention of elastic for areas such as necklines and cuffs. Why quick and dirty? There are two main types of smocking, English and North American. With English and North American there are many different pattern types available. 1) For the sample you'll need the following tools: A piece of fabric -I'm using muslin but you can use whatever you feel comfortable with as long as it's not too thick. A ruler - a transparent 2-inch wide ruler is ideal but any ruler will do. Marking tools - In the tutorial I use a variety of marking tools including a Sharpie, fabric pencils and a ball-point pen but you really only need one.
Needle and thread - For the sample you might want to use a contrasting color thread but that's up to you. Zip-up Earbuds. I love to have my music with me everywhere I go, but I hate the tangled mess my wires become when I toss them in my bag or pocket.
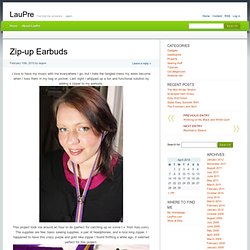
Last night I whipped up a fun and functional solution by adding a zipper to my earbuds. This project took me around an hour to do (perfect for catching up on some t.v. from hulu.com). The supplies are few; basic sewing supplies, a pair of headphones, and a nice long zipper. I happened to have this crazy purple and gold nike zipper I found thrifting a while ago, it seemed perfect for this project. The first step is to pull the earbuds apart, to separate the wires all the way down to the plug. Next, take one side of your headphones and one side of the zipper tape and start stitching the wire into the tape.
It’s as easy as that! Then unzip them to the length I want and put them on so much faster than having to untangle the mess! Circle skirt tutorial - version 2.0 - new and improved! : WhatTheCraft.com ... - StumbleUpon. The moment you’ve all been waiting for: a circle skirt tutorial that has the math already done for you!
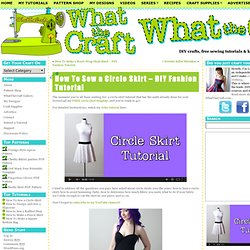
Download my FREE circle skirt template, and you’re ready to go! For detailed instructions, watch my video tutorial here: I tried to address all the questions you guys have asked about circle skirts over the years: how to hem a circle skirt, how to avoid hemming (heh), how to determine how much fabric you need, what to do if your fabric isn’t wide enough to cut the skirt in one piece, and so on. Don’t forget to subscribe to my YouTube channel! This tutorial was filmed using a Creative Labs Vado HD Digital Video Camera, a Canon Rebel (for still shots), and edited in Sony Vegas Movie Studio. ARCHIVED TUTORIAL BELOW – The following is my original circle skirt tutorial, which includes the steps that show you how to do the math.
This tutorial is for a classic circle skirt (think 50′s style poodle skirt). Difficulty: Step 1 Cut a waistband out of stretchy fabric or stretch lace. Step 1 Step 2 Step 2. Tutorials by Lee. Sewing tutorials.