
Baby Gifts: Pretty Bird Binky 'Leash' & Carry Bag. Summer seems like the prefect time to pull up some projects that will make the most of all those pretty pieces in your scrap bag, bin or box.
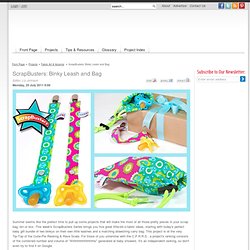
This week's ScrapBusters Series brings you five great little-bit-o-fabric ideas, starting with today's perfect baby gift bundle of two binkys on their own little leashes and a matching drawstring carry bag. This project is at the very Tip-Top of the Cutie-Pie Ranking & Rave Scale. For those of you unfamiliar with the C.P.R.R.S., a project's ranking consists of the combined number and volume of "Ahhhhhhhhhhhhhs" generated at baby showers. Haunted Halloween: Wicked Apron - Sew4Home. Make This Look. J. Crew Ribbon Neckline Refashion Tutorial. October 25, 2009 7:56 am J. Crew- You’re killing me. I can’t keep up with all your fun shirts. I fell in love with this shirt from J. Crew. So here’s my imitation tutorial. I got this peachy pink fabric and cut a strip double the length of the neckline and about 2 inches wide.
Fray check the sides. Beginning at the end of the collar make tucks and pin in place. Tuck in and out, around, up and down(however you want) around the entire colar, pinning in place as you go. Here’s an up close of how mine looks. Then you just need to stitch it in place. An up close… Free Maternity Patterns: Maternity Shirt Pattern. Maternity patterns are the best thing that ever happened to your budget.
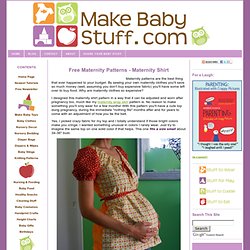
By sewing your own maternity clothes you'll save so much money (well, assuming you don't buy expensive fabric) you'll have some left over to buy food. Why are maternity clothes so expensive? Free Maternity Yoga Pants Pattern. These maternity yoga pants are so comfortable!
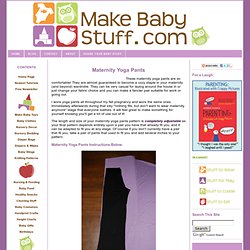
They are almost guaranteed to become a cozy staple in your maternity (and beyond) wardrobe. They can be very casual for laying around the house in or just change your fabric choice and you can make a fancier pair suitable for work or going out. I wore yoga pants all throughout my fall pregnancy and wore the same ones immediately afterwards during that icky "nothing fits, but don't want to wear maternity anymore" stage that everyone loathes. It will feel great to make something for yourself knowing you'll get a lot of use out of it! The length and size of your maternity yoga pants pattern is completely adjustable as your final pattern depends entirely upon a pair you have that already fit you, and it can be adapted to fit you at any stage.
Maternity Yoga Pants Instructions Below: Big Ugly Shirt Refashioned into Maternity! Make a Custom Pair of Tap Pants. By Haley Pierson-Cox For me, summer in NYC means two things: 1) I will eventually wear a light skirt into the subway when my hands are full, and 2) on that day, when I step onto the stairs of the station, a gust of wind will come barreling up from below, lifting my skirt and showing my backside to anyone who cares to look. This year, on the very first nice day, my skirt flew up not once, but twice.
In the same commute. Grumbling and scrambling to pull it down, it hit me: I definitely needed a pair of tap pants. In case you’re not familiar, tap pants work like a slip, but they’re actually shorts, making them the perfect solution to my summer skirt woes. I’m pretty sure that every gal with a skirt and the chance of a breeze needs a pair! Materials: Directions Step 1: Create the front pattern To get started, use a measuring tape to take the following measurements.
Step 3: Cut out your pattern pieces and arrange them on fabric that has been folded in half with right sides facing. Related. Beltmaking 101. Finally–the long-awaited beltmaking tutorial!
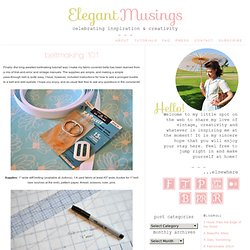
Way I make my fabric-covered belts has been learned from a mix of trial-and-error and vintage manuals. The supplies are simple, and making a simple pass-through belt is quite easy. I have, however, included instructions for how to add a pronged buckle to a belt and add eyelets. I hope you enjoy, and as usual feel free to ask any questions in the comments! Supplies: 1″ wide stiff belting (available at JoAnns), 1/4 yard fabric at least 45″ wide, buckle for 1″ belt (see sources at the end), pattern paper, thread, scissors, ruler, pins.
Begin by measuring your waist and adding 6″ to 8″ inches to the length (I tend to err on the side of more, especially for a belt using a pronged buckle). Cut the belting the length of your waist plus the extra. Using the paper pattern, cut one layer of your fabric. Fold the fabric around the belting, wrong sides out. Gently work the seam to the center of the belting width, and press seam open.