
Dresser. I love gift-wrap and I also love anything and everything having to do with typefaces.

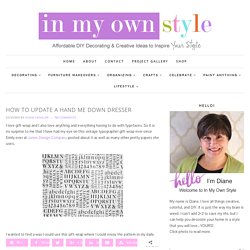
So it is no surprise to me that I have had my eye on this vintage typographer gift-wrap ever since Emily over at Jones Design Company posted about it as well as many other pretty papers she uses. I wanted to find a way I could use this gift-wrap where I could enjoy the pattern in my daily life instead of only wrapping gifts with it and giving it away. When I started to update my guest room I got an idea on how I could incorporate it into the room.
The gift-wrap comes in 20” x 28” sheets that cost $4.00 each. I needed 3 to cover the top of my dresser and the drawer pulls. Before This piece of hand me down furniture looks nice in this photo, but the top and left side have cracks in them. Supplies needed: My color scheme for the room: white, beige, tan, black, and purple. I painted the dresser white first. Since the gift-wrap has a tan background, I wanted to add a bit of it into the pulls. Book letters. This is a way cool project. (yes. a double feature, sorry can't helpt it. i love this new blog find) hope you enjoy. to see the full tutorial, click below: Vintage Paper. Plain box that you can find at any craft store decorated with a vintage map and sheet music One of my favorite places to shop in my town of Castle Rock, Colorado is The Barn. It is an old barn that has been converted into little shops.
Each of the old stalls is now a shop that sells vintage and new items. The Barn is my go to place when I am needing something vintage, chippy and full of character. Gift Wrap. Fabric Rose. We have finished up our Fabric Flower swap at I love 2 Create.

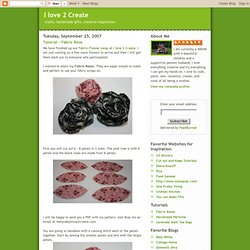
I am just waiting on a few more flowers to arrive and then I will get them back out to everyone who participated. I wanted to share my Fabric Roses. They are super simple to make and perfect to use your fabric scraps on. First you will cut out 6 - 8 petals in 2 sizes. The pink rose is with 6 petals and the black roses are made from 8 petals. I will be happy to send you a PDF with my pattern. You are going to handsew with a running stitch each of the petals together. Pull the running stitch a little to gather to petal as shown in the photo.
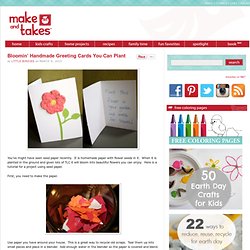
Next you will start to wind the flower petals around creating your rose. Or my favorite way to wind it is to take your low-temp glue gun and use a little glue as you wind your way around. I also attach a small piece of felt to the bottom to hide all my rough edges. Greeting Cards. You’ve might have seen seed paper recently.

It is homemade paper with flower seeds in it. When it is planted in the ground and given lots of TLC it will bloom into beautiful flowers you can enjoy. Seed Paper Tutorial. I first heard of seed paper–or hand made paper that has real flower seeds embedded in the pulp itself and is actually plantable–about a year ago while browsing through a stationary catalog.

It was the coolest idea I’d ever seen–and so incredibly spring-y! Well, who knew that you could make this funky stuff all by yourself? Paper Flowers. Japanese Kusudama, this tutorial is featured on Craftuts Anyone can do that, I assure you.

The proof: I can, just take a quick look at my result below. And, believe me, I am neither meticulous nor particularly patient. Aqua Mason Jars. Doily Lamp. Crepe Rose. Today I came across these super cute Crepe Paper Rose Pomanders made by Shelley Smith from the House of Smiths blog.

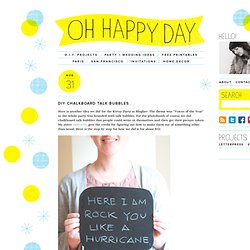
Shelley’s easy and inexpensive DIY project is perfect for any wedding reception or bridal shower decor. Make sure you head over to Shelley’s blog for more DIY projects and tips. Here are the DIY step-by-step instructions from Shelley: Craft Supplies Needed Styrofoam Ball Forms Crepe Paper Streamers {Color of your choosing} Glue Gun & Lots of Glue Sticks Roll of Tape Measuring Stick. Lotto Ticket. Chalkboard Bubbles. Aug 31 Here is another idea we did for the Kirtsy Party at Blogher.

The theme was “Voices of the Year” so the whole party was branded with talk bubbles. For the photobooth of course we did chalkboard talk bubbles that people could write in themselves and then get their picture taken. My sister Gabrielle, gets the credit for figuring out how to make them out of something other than wood. Here is the step by step for how we did it for about $12.