
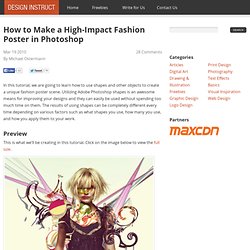
Buddhabrot fractal method - (Private Browsing) By Melinda Green The images on this page were all generated using a technique I developed to render the Mandelbrot set.
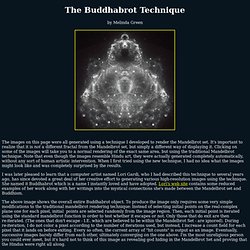
It's important to realize that it is not a different fractal from the Mandelbrot set, but simply a different way of displaying it. Clicking on some of the images will take you to a normal rendering of the exact same area, but using the traditional Mandelbrot technique. Note that even though the images resemble Hindu art, they were actually generated completely automatically, without any sort of human artistic intervention. Drawing Techniques & Reference Directory of Lessons & Tutorials with Step by Step Tutorials for How to Draw Cartoons, Comics, Illustrations, & Photo-Realistic Artwork - (Private Browsing) Create a Glossy Volt Icon in Photoshop. First of all I would like to thank Negreu Andreas for collaborating with me in creating this tutorial.
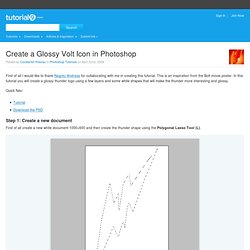
This is an inspiration from the Bolt movie poster. In this tutorial you will create a glossy thunder logo using a few layers and some white shapes that will make the thunder more interesting and glossy. Step 1: Create a new document First of all create a new white document 1000×600 and then create the thunder shape using the Polygonal Lasso Tool (L). Step 2: Apply Color Create a new layer and with the selection still activated fill it with #ff9c00. Step 3: Create the 3D effect Next you need to duplicate the layer two times and change the color of these 2 layers to #ffc66c.
Google Chrome Logo Design. December 5th, 2008 by ART-D Posted in Adobe Photoshop, Designing A detailed tutorial on how to create this awesome logo.
If you want to brush up on your graphic design skills, learn the techniques taught in the following 10 terrific texture tutorials. Begin working by creating a new file (File>New) of 854×854 px and 72 dpi. Use on it the Ellipse Tool (U) to represent the basis for the logotype to be of the Google Chrome browser. Select for this layer the parameters from below by making a mouse click on this layer on the layers’ panel: Blending Options>Gradient Overlay Gradient’s parameters: Using the same tool, try to make the next layer of the same element. The layer’s parameters: Blending Options>Bevel and Emboss Make a copy of the recently made layer and use on it the Free Transform option. Awesome Colorful Poster Tutorial. Hey guys this tuto is showing you how to use really cool colors on your images, in my case I created a poster with a good mix of typo and very strong colors.
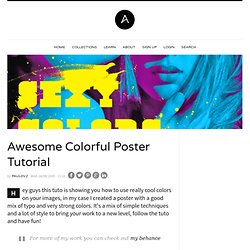
It's a mix of simple techniques and a lot of style to bring your work to a new level, follow the tuto and have fun! For more of my work you can check out my behance Yesterday while creating the post Amazing Ad Campaigns that was one ad campaign that really caught my attention, and it was the Ray-ban Colorize, the images used were so colorful and have so much live to it that amazed me.
How to Design a Geometric Poster in Photoshop - Tutorial - Pixelonomics – Design, Entrepreneurship, Startups, Movies, Life, Web, Events, Photography & more – Opinions & Discussions. Nov192010 EmailEmail.
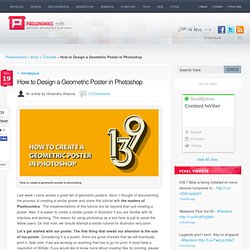
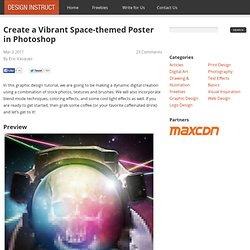
How to Make a High-Impact Fashion Poster in Photoshop. In this tutorial, we are going to learn how to use shapes and other objects to create a unique fashion poster scene.
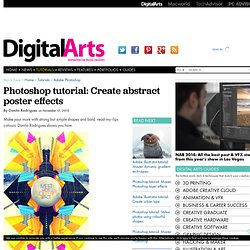
Utilizing Adobe Photoshop shapes is an awesome means for improving your designs and they can easily be used without spending too much time on them. The results of using shapes can be completely different every time depending on various factors such as what shapes you use, how many you use, and how you apply them to your work. Preview. Create a Vibrant Space-themed Poster in Photoshop. In this graphic design tutorial, we are going to be making a dynamic digital creation using a combination of stock photos, textures and brushes.
We will also incorporate blend mode techniques, coloring effects, and some cool light effects as well. If you are ready to get started, then grab some coffee (or your favorite caffeinated drink) and let’s get to it! Preview Tutorial Resources Step 1: Isolating the Skull Start up Photoshop and open up the Skull image.
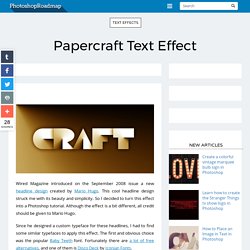
Continue to make your way around, following the contours of the skull as closely as possible. Once you have made your way around the entire shape, close your path to complete the outline. Create abstract poster effects - Classic Photoshop & Illustrator Tutorial. Make your mark with strong but simple shapes and bold, read-my-lips colours: Danilo Rodrigues shows you how.
It’s hard to pinpoint what makes this image so direct and powerful. Perhaps it’s the symmetry of the piece, and the way all the elements conspire to draw the viewer’s gaze to the centre. Or it might be the clean, geometric shapes, shaded in an uncluttered, Art Deco style. Maybe the colour palette, with its CMYK simplicity and Nu-Rave overtones, has something to do with it. Or is it the way it combines a classic 1960s Retro-Futurist feel – complete with space-age images – with a slightly textured backdrop, hinting at the hand-made? Papercraft Text Effect - (Private Browsing) Wired Magazine introduced on the September 2008 issue a new headline design created by Mario Hugo.
This cool headline design struck me with its beauty and simplicity. So I decided to turn this effect into a Photoshop tutorial. Although the effect is a bit different, all credit should be given to Mario Hugo. Since he designed a custom typeface for these headlines, I had to find some similar typefaces to apply this effect.
The first and obvious choice was the popular Baby Teeth font. As usual, my tutorials are very long. How to Create a Professional Magazine Layout. A few times a each month we revisit some of our reader’s favorite posts from throughout the history of Vectortuts+.

This tutorial by Otto Coster was first published on August 4th 2010. Have you ever wondered how professional designers strike the perfect balance between text and image? Using InDesign's powerful type tools, you will learn techniques to help you set and arrange a magazine layout. Graphic Design Inspiration and Photoshop Tutorials - (Private Browsing) This past Friday was the Abduzeedo meetup here in my hometown of Porto Alegre. Fluffy Clouds in Photoshop. Last Saturday while chatting with a friend of mine he asked me how to create some fluffy style clouds, he told me that he has been seeing that quite often on Dribbble.
I decided to check that out and there were indeed lots of amazing cloud designs, then I thought to myself that it would be a cool idea create one in Photoshop as well. Tilt Shift Photoshop Tutorial: How to Make Fake Miniature Scenes Visual Photo Guide I discovered the Tilt Shift technique perusing the photography of Drew Wilson , an uber talented young photographer here in Sarasota. I asked him about the process and he was kind enough to share it with me. Tilt shift lenses focus on a single part of the photo and shift (blur) the surrounding area to create an optical illusion of miniaturized scenery. Real tilt shift lenses are quite expensive, but a similar effect can be achieved by using Photoshop after you take the photo. Realistic View Tears on Face. Welcome to PhotoshopStar.com! If you find this site useful, you might want to subscribe to our free newsletter for updates on our new Photoshop Tutorials and Articles.
In this quick Photoshop tutorial I would like to bring your attention to this unique technique on how to make realistic tears. Final Image Resources blue eyes. Create a Face Paint Dripping Effect. 2010 Logo Design. Every new year I like to try new things with the Abduzeedo logo. In 2009 I changed the typography a little bit, but now that it's 2010 I decided that the blog needed a symbol. That necessity came up when we are finishing the Abduzeedo iPhone app and we needed to have an icon.
So in this tutorial/case study I will show you how I created the symbol and what the inspiration behind it was. Yet Another Colorization Tutorial. Quick Selective Sharpening Technique In Photoshop « David Saffir's Photography and Printing Blog. Sharpening images can be a challenging task. One of the issues involved is the choice between sharpening the entire image, or sharpening only the areas that will really add to image quality. Making a Kaleidoscopic Image in Photoshop.
Adobe Illustrator. Adobe Photoshop.