
Vintage vs. Retro. Get Creative With Collage: Trends and Inspiration. Advertisement Collage is the combination of pieces of diverse materials and media, such as newspaper, magazines, package labels, fabric, paint and photographs, into one composition.
The term itself derives from the French “coller,” meaning “glue.” It was coined by both Georges Braque and Pablo Picasso at the beginning of the 20th century, when collage became a distinct part of modern art. Collage promises to be an important creative outlet for many years to come because it allows artists to explore and experiment with creating truly new, exciting and often unexpected results. This article showcases the pioneers of the collage movement, current trends and examples, contemporary proponents of collage and a wealth of resources. You may be interested in the article Pop Art Is Alive: Classics and Modern Artworks that presents 75 outstanding examples of classic and modern pop art. Pioneers Pablo Picasso George Braque Kurt Schwitters Eduardo Paolozzi Henri Matisse Robert Rauschenberg Richard Hamilton. Pugly Pixel ♥ Blog Design Enthusiast.
An Illustrator’s Project: From Start to Finish. In this tutorial, I’ll walk you through the steps of how to create an illustration art piece so that you can witness what goes behind a digital illustrator’s work, as well as gain some new insights for your own projects’ workflow.
We’ll go through conceptualization and idea gathering, creating illustrations in Illustrator, and then finishing the piece in Photoshop. Preview Introduction Have you ever found it hard to start and finish a project? Maybe your thoughts are disorganized and vague or you aren’t feeling particularly productive, but you know deep down you want to create something beautiful. All you need in this case is some inspiration, some Illustrator tips and tricks, and a little bit of Photoshop magic.
I’ll share with you how I start a piece with the help of my trusty sketchbooks, and then how I execute a project with Illustrator, where I create the elements of the illustration. Resources free textures by bashcorpo Step 1: Look for inspiration Step 2: Sketching time! Conclusion. Draw a Glowing, Vector Pocket Watch – Front and Back. In this tutorial you will learn how to draw the front and the back side of a pocket watch from scratch.
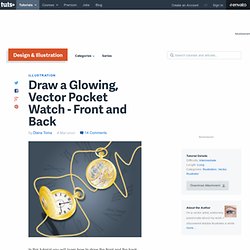
This tutorial is detailed and by the end you will know how to draw all kinds of shapes, like cog-wheels and small screws. You'll learn to create the scatter brushes used for the designs on the watch and how to use some of the existing patterns and gradients in Illustrator's library to your advantage. Part 1 - Draw the Front Side of the Pocket Watch Step 1 Open a new web document. Draw two more ovals, select them both, then go to the Pathfinder Panel and click Subtract from the shape area to obtain the empty area on the lid where the glass will be.
Step 2 Use gold gradients for each of the shapes by just changing the angle to get more reflections. Now go to Object > Expand and expand the 0,5 pt Stroke (mentioned above) for each of the ovals. Step 3 Step 4 Draw the shapes from the next image. Step 5 Next, rotate the group of shapes and place them behind the watch as shown. How to Create Realistic, Vector Bubbles. His Majesty the Bubble!
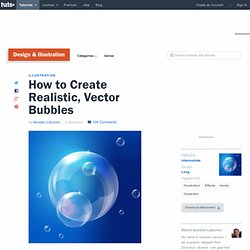
In this tutorial we will learn how to create realistic colorful bubbles. We'll cover numerous techniques and build this illustrations step by step. Set aside a couple hours for this one! Republished Tutorial Every few weeks, we revisit some of our reader's favorite posts from throughout the history of the site. Step 1 Open up a new document. Step 2 Create a new layer and name it "Bubbles. " Step 3 Create a gray shape using the Pen Tool (P) as shown below.
Step 4 Use the Pen Tool (P) to create the shape of light glare on the bubble. Step 5 Create a new shape and make an intersection as shown in Step 3. Add new elements of the bubble. Step 6 At first create bigger elements; the sequence of sub layers can be changed during the process of working. Try to keep your lines look perfect, while outlining the shape of a sphere.