
VRAY movin object ANIMATION. Видео урок - простой анимацией, и пути ограничения в 3ds Max. This blog post is designed to show you quick ways to animate objects in 3dsmax using the path constraint tool.
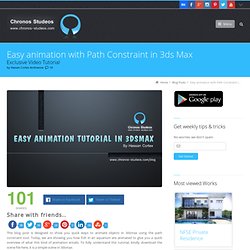
Today, we are showing you how fish in an aquarium are animated to give you a quick overview of what this kind of animation entails. To fully understand this tutorial, kindly download the scene file here, it is a simple scene in 3dsmax. Since we ensure to put some life in our animations, we found this to be a useful way to show you how you can adopt the same in your scenes even though you may not be working with architectural visualizations. The scene To start with, I completed the scene of a living room/dining space with an aquarium in it.
The complete interior living/dining room scene with the aquarium ready for keyframing A test render of the animated scene (Single frame render) Cloning the water bubbles using the sub-object menu. Adding a little bit more detail to the fishes (using noise modifier and adjusting the seed and fractal settings) I hope you enjoyed the video file. CGPeers Beta2. Flicker free Vray animation test_moving objects and camera. Vray Camera Problem. 3dsmax 2014 and vray 3 jittery camera problem. Rendering an animation with moving objects. VRay Dynamic Animation Renderer. A script to ease the process of rendering animations in VRay.
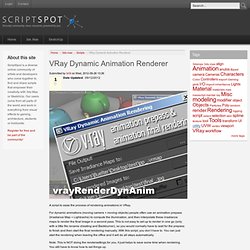
For dynamic animations (moving camera + moving objects) people often use an animation prepass (Irradiance Map + Lightcache) to compute the illumination, and then interpolate these irradiance maps to render the final image in a second pass. This is not easy to set up to render in one go (only with a little file rename cheating and Backburner), so you would normally have to wait for the prepass to finish and then start the final rendering manually. With this script, you don’t have to. You can just start the rendering when leaving the office and it will do all steps automatically. Note: This is NOT doing the rendersettings for you, it just helps to save some time when rendering.
Explanatory video: Flicker free animation using Vray. Rendering an animation using indirect illumination (GI) methods that rely on caching samples are known for producing frames that flicker.
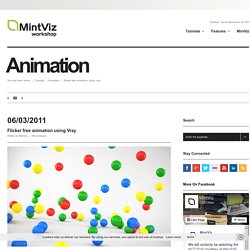
This is because the samples of each rendered frame are calculated differently, causing different lighting values per frame. To resolve this, an animation can be rendered using a pre-calculated solution where the same sample data is used for every frame. You would pre-calculate both GI methods, commonly the irradiance map and light cache, by choosing multiframe incremental mode for the irradiance map and fly-through mode for the light cache. The irradiance map and light cache combination is effective if you have no moving objects within your animation. So it is advised to be used only when creating fly-through animations. If you pre-calculate a rendering solution for an object that has a set position for x, y and z. To avoid flickering frames, Vray introduced time-interpolated irradiance maps as part of SP2.
The use camera path parameter. ProSequencer. If you’re working with multi-shot animations this will make your life a lot easier!
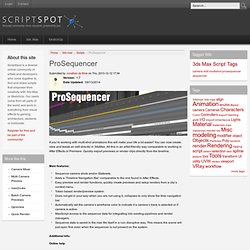
You can now create, view and tweak an edit directly in 3dsMax. All this in an artist friendly way comparable to working in After Effects or Premiere. Quickly export previews or render clips directly from the timeline. Main features: Sequence camera shots and/or Statesets.Adds a ‘Timeline Navigation Bar’ comparable to the one found in After Effects.Easy preview and render functions, quickly create previews and setup renders from a clip’s context menu.Token based render/preview system.Does not get in your way when you are not using it, collapses to only show the time navigation bar.Automatically set the camera’s wireframe color to indicate if a camera’s track is selected or if camera is active.MaxScript access to the sequence data for integrating into existing pipelines and render managers.Sequence data is saved in the max file itself in a non disruptive way.
Additional Info: Online help Demo. Урок по анимации пролета камеры в сцене 3ds Max. 8.
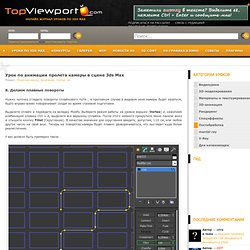
Делаем плавные повороты Нужно чуточку сгладить повороты сплайнового пути... в противном случае в видовом окне камеры будет казаться, будто вправо-влево поворачивает солдат во время строевой подготовки. Выделите сплайн и перейдите на вкладку Modify. Выберите режим работы на уровне вершин (Vertex) и, нажатием комбинации клавиш Ctrl + A, выделите все вершины сплайна. После этого немного прокрутите меню панели вниз и отыщите кнопку Fillet (Скругление).
У вас должно быть примерно такое: 9. Для создания камеры перейдите в Create > Cameras > Target Camera. Давайте посмотрим, что видит наша камера. 3ds max уроки.Просчет анимации при помощи визуализатора Vray. Плагины 3d Max видео уроки Craft Director Studio, Плагины 3dMax Stone Placement Tools. 4-й выпуск журнала по 3D Max.
Плагины 3d Max видео уроки Здравствуйте, уважаемый подписчик ! В этом выпуске журнала мы будем разбирать только 2 плагина, но уже побольше и интереснее. С помощью одного из них вы можете анимировать любое транспортное средство легко и быстро, и главное предельно реалистично! Как сделать Gif-анимацию из видео в фотошоп. 3D Studio Max - Tutorial - How to render an image or an animation. SolidRocks - MOAWiz. 3ds Max tutorial: rendering an image sequence and converting to avi. FlyWiz, new Solidrocks addon (Flythrough animation wizard)