

Mobile gaming & Web 3D. (lowpoly thread) - Page 267. Ben Mathis - tutorials. Static text and image based instructional material.
PDF's require Adobe Acrobat. Comb map creation *new* Create "comb maps" to control anisotropy direction on a per pixel basis. Next-Gen Eyes *new* How to construct more realistic eyes using per-pixel shaders and transparent shells. Programs, Plugins, and Scripts The 3D, 2D, and miscellaneous programs I use, as well as plugins and scripts. Links included. The Hunter. Concept Well, I started this project thinking that I wanted a funny image - nothing realistic, I simply wanted a character with some personality.
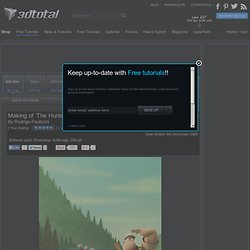
At first I thought about creating a boxer, but something made me change my mind ... Character Model & Texturing (Low Poly) Welcome to the first section of this 3 part tutorial on the creation of this low poly character.
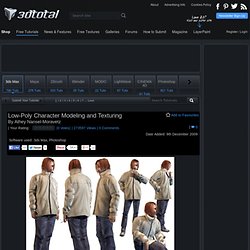
We contiune this tutorial next Monday. This tutorial is for the creation of Low-Poly "Portable Game Resolution" real-time characters. This tutorial is being made with 3D Studio Max and Photoshop and all program-specific instructions are for those programs. The basic techniques can be transferred to other applications if you are already very familiar with those programs. The first thing you should ever do before even opening your 3D app is to get your ref ready. Polygon Blog 3D – 3ds Max Tutorials. Creating game character - part 6 by Les,Padrew - 3D Tutorials- Creating,game,character,part,Les,Padrew,Free Tutorials Network.shijieminghua.com.
Painting the Texture Map Now you can use the UVW map as a guide for painting the texture map.First,you will need to get the guide into a 2D painting program, such as Corel Painter.
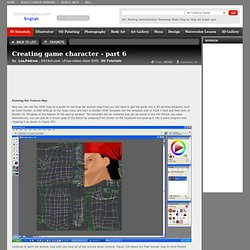
In Edit UVW,go to the Tools menu and then to Render UVW Template.Set the template size to 1024 ×1024 and then click on Render UV Template at the bottom of the pop-up window. The template will be rendered and can be saved in any file format you want. Alternatively, you can just do a screen grab of the Editor by pressing Print Screen on the keyboard and pasting it into a paint program and cropping it,as shown in Figure 103. Continue to paint the texture map until you have all of the texture areas covered. Applying the Painted Texture Map When the texture map is finished,you will need to load it into 3ds Max and apply it to the model.
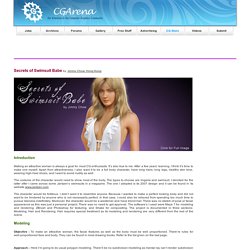
Secrets of Swimsuit Babe. Secrets of Swimsuit Babeby Jimmy Chow, Hong Kong Introduction Making an attractive woman is always a goal for most CG enthusiasts.
Tutorials. There are many approaches to modeling the human.
Most of these methods were designed to accomplish specific aims such as easier sculpting of facial features, better facial animation, easier texturing, and so on. Of all these techniques subdivision or subpatch modeling has the scope to achieve all the necessary objectives for modeling a realistic human and its subsequent goals of lifelike movements and facial expressions. This chapter outlines a method for modeling a human female. If your desire is to model a male, then you can refer to my other book 3D Human Modeling and Animation, 2nd Ed.
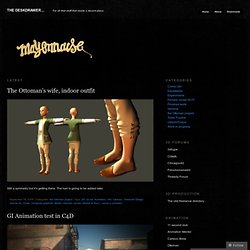
(John Wiley and Sons Publishers). Although most of human modeling will be examined in this chapter, the following chapter 7 will cover details such as hair, eyes, teeth, and so on. In the previous chapter 2 you learned how to model a figure with clothes. The Deskdrawer… In my search for “How to handle Normal Maps” I came across an application called Mudbox.
Unreal Character (Low poly) Character - Maya: Cartoony Character - Page 2 - Foundation 3D Forums. OK, first successful attempt with styling.
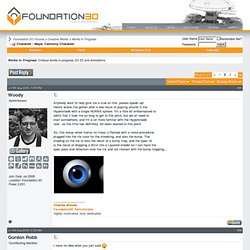
Styling the start curves is not as straight forward as just using a 'magnet' - type brush or soft mod tool and pulling curves into place. The workflow consists of a lot of back and forth between running the simulation with dynamics to get the hair going into the general direction you're after, then using constraints on the hair to tug things into place. Making of Little Fishes. Hey there, I m so happy to be here and thanks to CGArena to give me the opportunity to share my workflow with you.
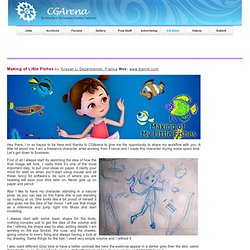
A little bit about me, I am a freelance character artist working from France and I made this character during some spare time. Let’s get down to business. First of all I always start by sketching the idea of how the final image will look. I really think it’s one of the most important step, to put your ideas on paper, it clarify your mind for later on when you’ll start using mouse and all these fancy 3d software’s, be sure of where you are heading will save your time later on. Never give up on paper and pencil. Also I like to have my character standing in a natural pose, as you can see on this frame she is just standing up looking at us. I always start with some basic shape for the body, nothing complex just to get the idea of the volume and the I refining the shape step by step, adding details.