
Machine Sewing. Here's a collection of notes to help you along.
This is just an intro. Many places you where buy leather, you may also pick up a book on working with leather. You generally don't want to pin pieces together before sewing. Besides being exceedingly difficult to do, it will leave holes that can be hard to hide, although this generally isn't much of a problem with suede. It's just going to be really tough to push pins through the hide without poking yourself several times. Loop Handle Purse Frame Tutorial - Pleated Pouch of Apples. **UPDATE** If you'd like this tutorial (and any of my others) in PDF format click here.

Note: to view the PDF tutorial, you will need the latest Adobe Viewer program. Get the latest version of the viewer absolutely free by clicking on the button below: I've finished the purse that I was working on this week. I have used Baby Cord Apples Fabric, and a Loop Handle Purse Frame. The purse is not hard to make, why not give it a go? Front view Inside view. Sewing Zippers in Bags Tutorial 1. (aka Zippered inner bag pocket) **UPDATE** If you'd like this tutorial (or any of my others) in PDF format click here.

Note: to view the PDF tutorial, you will need the latest Adobe Viewer program. Get the latest version of the viewer absolutely free by clicking on the button below: Here is a tutrorial for zippered pockets inside bags. They look smart, they prevent your valuables from going 'walkies', they make essentials such as lippy and your mirror easy to get at, and a girl can never have too many pockets in her bag! Easy Tutorial - How to insert a concealed top edge bag zipper. If you want to see the finished bag that features this zipper here it is.

This is a tutorial for a nifty bag zipper. What is nifty about this bag zipper is that it makes bags look neat and professional. This is because the zipper is inserted 1" (2.5cm) or more down from the top edge of the bag. Another benefit of this zipper is that it adds volume to the top edge of the bag in that the top of the bag has a slightly boxy opening...you'll see what I mean in a minute. Tutorial: Puffy Pouch. Here comes the tutorial for the puffy pouch ;)As I promised, I am introducing two ways to make this pouch, one made with a 5" flex frame which may not be very accessible and the other made withvelcro which is fairly easily found at any craft stores.
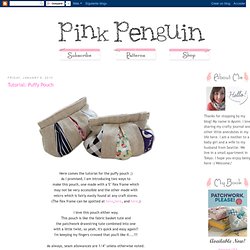
(The flex frame can be spotted at here,here, and here.) I love this pouch either way.This pouch is like the fabric basket tute andthe patchwork drawstring tute combined into onewith a little twist, so yeah, it's quick and easy again!! I'm keeping my fingers crossed that you'll like it....!!!
As always, seam allowances are 1/4" unless otherwise noted. First off, pick out linen (or medium to heavy fabric)and three different print cotton fabrics that contrasteach other for the external shell. Cut out fabrics into pieces:Eight 1.75" x 5.5" pieces andTwo 2" x 6" from linenTwo 1.75" x 5.5" from each cotton fabrics. .Zippered Pouch Tutorial. Lets get this tutorial started then!
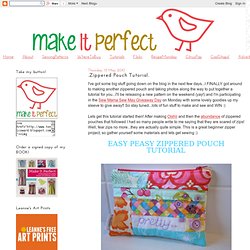
After making Oishii and then the abundance of zippered pouches that followed I had so many people write to me saying that they are scared of zips! Well, fear zips no more...they are actually quite simple. This is a great beginner zipper project, so gather yourself some materials and lets get sewing :) I'm not going to give instruction on how to make the patchwork panel that I use for my pouches...the instructions will vary depending on the size of your scraps and the way you lay them out. A quick run-down though in case anyone wants to get nitty-gritty...I cut and join my little scrap pieces until I get a rectangle which measures 9" x 6 1/2" making sure I get a piece of plain white fabric in there somewhere.
Okay, so that is a speedy how-to make the patchy panel! Step 1.Take the two small rectangles of fabric for zipper ends and fold in half so that short ends meet. Step 2. Trim the overhanging raw edges of the zipper end fabric. Techniques for bag making. Gathered clutch tutorial. Another Bias Tape Tutorial. ★ HOW TO Make PURSES. There are many fabrics out there which can make for a confusing choice, however if you're a beginner I would definitely recommend cotton or linen first.
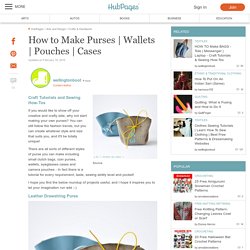
Nothing too thin or flimsy, unless you are doing to add interfacing to stiffen it, or batting to bulk it up. Quilt weight cotton is most common. Home décor and upholstery fabrics are often used too as they're quite sturdy and durable. Other fabrics you can use are leather (or faux leather), vinyl, canvas, silk, wool, calico or denim.
You can also reuse other materials such as vintage tablecloths, or even sweaters (however watch out for sweaters as they stretch unless you felt them first in hot water) . - For linings, a thinner material than the outside is used and it is often smooth and slippery such as polyester or nylon. . - There are various fastenings and closures you can use for purses, with the most common being zippers, button flaps, velcro and magnetic snaps.