
Creating a Tri-fold template in InDesign CS5. In today's quick tip we are going to set up a template for a Tri-fold leaflet, which will be roll folded.
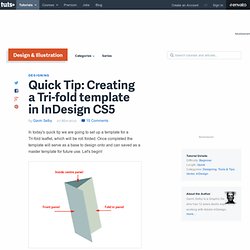
Once completed the template will serve as a base to design onto and can saved as a master template for future use. Let's begin! Here is a visual of how the tri-fold leaflet folds. Using the Print Booklet Feature in InDesign CS5. Sitting at the bottom of the File menu within InDesign is the Print Booklet feature.

This feature has the potential to virtually cut out imposition time and for that reason it should not be overlooked. As print machines, paper sizes and ways of working vary I will try to keep this tut as generalised as possible. However the tut will be easier to follow if your design is portrait, saddle stitched(stapled) and contains eight pages or more. How to Make an A5 Print Ready Leaflet InDesign CS5. In this tutorial you will learn how to design a A5 four page leaflet, which can also be saved as a template for future designs.
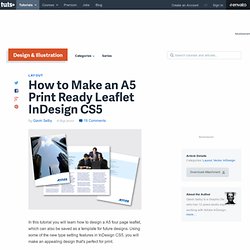
Using some of the new type setting features in InDesign CS5, you will make an appealing design that's perfect for print. Introduction Note: The Premium Download for this file is in InDesign CS5 format only, as the focus of this tut is on features that are only available in the latest version of the program. Before you start designing it is worth mentioning that I live and work in England, UK.
In my region the print / design community mainly uses millimeters when dealing with Ruler Units. For the purposes of this tutorial I am using a fictional company called 'Altitude', who are architectural consultants. Creating Quick Grids and Using Live Distribute with InDesign CS5. Within this tut we are going to explore the Grid and Live Distribute features.
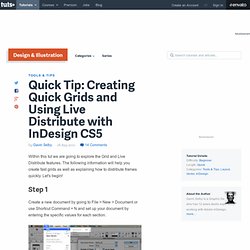
The following information will help you create fast grids as well as explaining how to distribute frames quickly. Let's begin! Step 1 Create a new document by going to File > New > Document or use Shortcut Command + N and set up your document by entering the specific values for each section. Step 2 From the Tool Box select the Rectangle Frame Tool (F) Step 3 Click within the document and drag out the cursor to create a large square or rectangle. Still holding down the mouse, press the up arrow key to set the number of rows. Note: While holding down your mouse click you can delete the amount of rows and columns by using the left/down arrow keys.
Step 4 After releasing mouse click the frames should be still selected, so let's import some images. Step 5 The cursor should now be fully loaded with the images ready to import. Basic Page Numbering with InDesign CS5. Most of us have experience using the Adobe Suite, but how much do you know about InDesign?
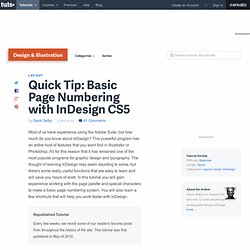
This powerful program has an entire host of features that you wont find in Illustrator or Photoshop, it's for this reason that it has remained one of the most popular programs for graphic design and typography. The thought of learning InDesign may seem daunting to some, but there's some really useful functions that are easy to learn and will save you hours of work. In this tutorial you will gain experience working with the page palette and special characters to make a basic page numbering system. Importing Type Using InDesign CS5. Importing type into Indesign can seem like a straight forward process, either copy and paste or use the place option.
It is definitely a process designers take for granted. This tut will illustrate the capabilities InDesign offers when importing type using the "Show import options" feature. In turn this will give insight on how you - the designer - can take full control over importing and placing type. Methods of importing type Here are some common methods of placing type within InDesign. Direct input. For the purpose of this tut we are going to focus on method 3. Step 1. Working with Nested Styles in InDesign. Creating Live Captions in InDesign CS5. Live captions are perfect for adding descriptions to images placed within an InDesign document.
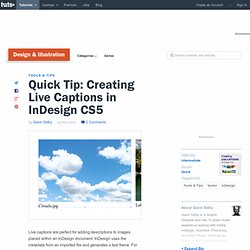
InDesign uses the metadata from an imported file and generates a text frame. Beginners Guides to InDesign. A tutorial for good typography in InDesign - Setting up a baseline grid. Good clean typography is a fundemental skill of any designer.
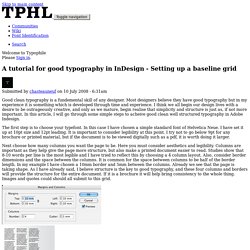
Most designers believe they have good typography but in my experience it is something which is developed through time and experience. I think we all begin our design lives with a desire to be outrageously creative, and only as we mature, begin realise that simplicity and structure is just as, if not more important. In this article, I will go through some simple steps to acheive good clean well structured typography in Adobe Indesign. The first step is to choose your typefont. In this case I have chosen a simple standard font of Helvetica Neue. Next choose how many columns you want the page to be. So we have set up a grid vertically, the next step will be to set up a horizontal or baseline grid, which all our text will stick to.
Start the grid at 10mm in accordance with your borders. Now we will add a heading. I shall now add an introduction paragraph in the exact same way. So thats it, I have waffled on long enough. Clipping Masks in InDesign.