
The Amazing Power of Liquify for Portrait Retouching in Photoshop. Remove Harsh Shadows in Seconds! 1-Minute Photoshop (Ep. 10) How to Lighten Eyes in Photoshop. Create Highly Realistic Lipstick in Photoshop. A Very Simple Trick for Easily Finding All the Blemishes You Need to Retouch in a Photo. The irony of staring at an image forever is that it can actually become easier to start to miss things — a sort of photographic tunnel vision, if you will.
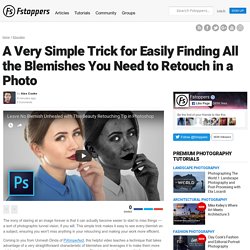
This simple trick makes it easy to see every blemish on a subject, ensuring you won't miss anything in your retouching and making your work more efficient. Coming to you from Unmesh Dinda of PiXimperfect, this helpful video teaches a technique that takes advantage of a very straightforward characteristic of blemishes and leverages it to make them more visible to the photographer when retouching an image. Blemishes typically are small inflammations and thus, contain more red than the skin around them. As such, if we create a black and white version of the image and pull all the red out of it, this should make the blemishes appear particularly dark compared to the surrounding skin, making it easy to immediately pick them out and retouch them, which is the exact trick Dinda demonstrates above.
Photography.tutsplus. Adding Shine to Hair. Adding Shine to Hair. HOW TO GET SHINY HAIR IN PHOTOSHOP CC - LENTILLE PHOTO TUTORIALS. How to Style Hair in Photoshop. Video tutorial: Fix frizzy hair with Photoshop’s Oil Paint filter. This effect lets Photoshop work out how to smooth hair, and then reapplies the fine hair detail to avoid things looking too smooth and artificial.
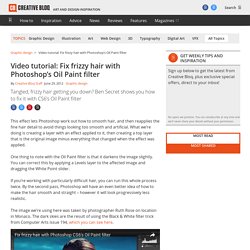
What we’re doing is creating a layer with an effect applied to it, then creating a top layer that is the original image minus everything that changed when the effect was applied. One thing to note with the Oil Paint filter is that it darkens the image slightly. You can correct this by applying a Levels layer to the affected image and dragging the White Point slider. If you’re working with particularly difficult hair, you can run this whole process twice. By the second pass, Photoshop will have an even better idea of how to make the hair smooth and straight – however it will look progressively less realistic. The image we’re using here was taken by photographer Ruth Rose on location in Monaco. 02 Oil Paint creates a very stylised painted effect. 03 Once you’ve okayed that, you get a much smoother middle layer. Surface Blur. How To Retouch - 28 Amazing Photoshop CC Tips, Tricks & Hacks. In this video photographer and designer Nathaniel Dodson explains you about 28 Tips, Tricks & Hacks in Photoshop CC.
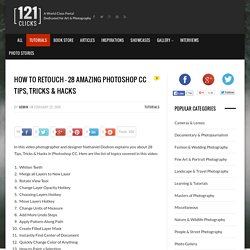
Here are the list of topics covered in this video: Whiten TeethMerge all Layers to New LayerRotate View ToolChange Layer Opacity HotkeyChoosing Layers HotkeyMove Layers HotkeyChange Units of MeasureAdd More Undo StepsApply Pattern Along PathCreate Filled Layer MaskInstantly Find Center of DocumentQuickly Change Color of AnythingHow to Paint a SelectionBlack & White w/ Channel MixerFilling Text or Shape LayersScale Layer StylesPrecise Painting w/ Brush ToolDuplicate AnythingBefore/After Preview HotkeyStraighten a PSD Two Different WaysBird’s Eye ViewClipping Mask PowerInstagram/VSCO Fade EffectHacking Selection CreationThe Fastest Retro EffectExtract Assets for the WebMultiple Layer StylesPhotoshop UI Easter Egg. Glossy Portrait Finish. Dodge Burn. How To Use Portraiture 2 In A Non-Texture Killing Way. Useful Photoshop Tips And Tricks For Photo Retouching. Advertisement When it comes to designing in Photoshop, there is a myriad of ways one could use to achieve a certain result, especially when it comes to photo retouching.

Designers use technique they are most confident as well as comfortable with, which is great because it’s always useful to peek into the workflow of our colleagues and learn new design approaches. We have had articles on cloning1, compositing2, masks3 and obscure Photoshop time-savers4 in the past. This article is different. I’ll be covering some of the useful techniques and tricks which I’ve learned from my experience. Here is a short overview of the techniques we’ll be covering: Naturally Increased Light The light of the sun creates texture. Then use the brush tool with a soft brush, and hold the Alt/Option key to pick up colors from the area that you want to brighten. Simulate Infrared Images Trees and bushes should now shine in the typical white, and the sky should appear almost black. Levels Sunset Creating Smiles. Photoshop Tutorial - Big Shiny Voluminous Hair. Smoothing Skin and Surfaces with the Frequency ... - Learning DSLR - Quora.
Seriously, the "Frequency Separation Technique"?

Retouch tips Pt 3. Sculpting with Light. Retouch tips Pt 2 Levels on Separate Layers. Retouch tips for Photoshop (not Elements) Creating That Dave Hill Look. Nick Wheeler, one of my all times Flickr favorites, just uploaded a new picture to DIYP pool.

(And yes, it is the same Nick who brought you The DIY Strip Light and the Floor Lit Table Top Studio). The posing on this picture is great, but the first eye catcher of this image is the Dave Hill post processing look it has. If you don’t know Dave Hill, please, sit back and treat yourself to an hour of fine photography. Dave is known for two things: You can not forget his portraits ones you’ve seen them – the visual impact is very strong. And you can not ignore his unique post processing look, what has become to be known as “The Dave Hill Look”. It looks like the web is all over Dave this month, as both the Stobist mail-tiviewed him and Scott Kelby gave a great tip on how to create a Dave Hill look in Lightroom. I wanted to play a little and gave the Dave Hill look a try with a technique found in the Strobist threads.
The next step is to select “vivid light” as the layer blending mode. 3 Techniques for Retouching Skin. Portrait photographers strive to achieve beautiful skin in their images.
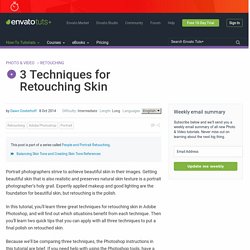
Getting beautiful skin that is also realistic and preserves natural skin texture is a portrait photographer’s holy grail. Expertly applied makeup and good lighting are the foundation for beautiful skin, but retouching is the polish. 3 Techniques for Retouching Skin. Field Blur in Photoshop CC - Layers Magazine. Fashion Toning Using Photoshop's Color Lookup Adjustment Layer - Layers Magazine. Easily Apply the Trendy Desaturated Skin Look in Photoshop - Layers Magazine.
Retouching Portraits in Camera Raw - Layers Magazine. Easy Photoshop Technique for Balancing Skin Tones in Portraits. Hiding Hair Roots in Photoshop - Layers Magazine.