
Frequently Asked Questions 17. How can I see my backups, or the Backups for a different Mac? The Browse Other Backup Disks Option Time Machine keeps the backups for each Mac separate, and normally only shows the ones for the Mac it's running on (selected in the Time Machine Preferences window), even if there are other backups of the same or a different Mac on the same or different disk/partition.
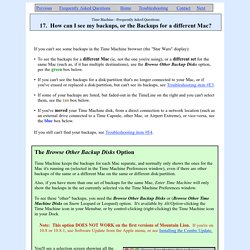
Also, if you have more than one set of backups for the same Mac, Enter Time Machine will only show the backups in the set currently selected via the Time Machine Preferences window. To see these "other" backups, you need the Browse Other Backup Disks or (Browse Other Time Machine Disks on Snow Leopard or Leopard) option. It's available by Alt/Option-clicking the Time Machine icon in your Menubar, or by control-clicking (right-clicking) the Time Machine icon in your Dock.
Note: This option DOES NOT WORK on the first versions of Mountain Lion. You'll see a selection screen showing all the. How to install latest Mac OS X Lion Virtual Machine on Windows Server 2008/Windows 7. The client I'm currently consulting with would like to revamp a current BI Dashboard prototype into a iPhone/iPad native application rather than a mobile web app.
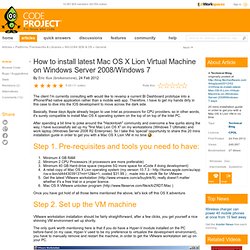
Therefore, I have to get my hands dirty in this case to dive into the IOS development to move across the dark side. Basically, these days Apple already began to use Intel as processors for CPU providers, so in other words, it's surely compatible to install Mac OS X operating system on the top of on top of the Intel PC. After spending a bit time to poke around the "Hackintosh" community and overcome a few quirks along the way, I have successfully set up my "first Mac Lion OS X" on my workstations (Windows 7 Ultimate) and work laptop (Windows Server 2008 R2 Enterprise). So I take this 'special' opportunity to share this 20 mins installation guide in order to get you with a Mac OS X Lion VM in no time Step 1.
Once you have got hold of all those items mentioned the above, let's kick off this OS X adventure. Links. How to Run Mac OS X in VirtualBox on Windows. How To Install Mac OS X On PC Using Virtual Box. Apart from Virtual Box, to install Mac OS X, you will require OSX86 ISO.
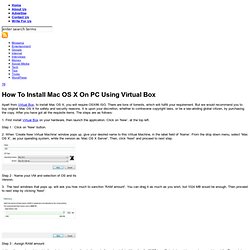
There are tons of torrents, which will fulfill your requirement. But we would recommend you to buy original Mac OS X for safety and security reasons. It is upon your discretion, whether to contravene copyright laws, or be a law-abiding global citizen, by purchasing the copy. After you have got all the requisite items. The steps are as follows: 1. Step 1 : Click on 'New' button. 2. Step 2 : Name your VM and selection of OS and its Version. 3. Step 3 : Assign RAM amount 4. Step 4 : Allocate Hard Disk Size By clicking ‘Next’, you will shown ‘Summary’, if you are satisfied, then click ‘Finish’. 5. Step 5 : Uncheck ‘Enable EFI’ 6.
Step 7 : Select 'Empty' under IDE Controller 7. Step 7 : Select ISO image of OSX86 8. After a while, a pop up window will appear, select your preferred language. Step 8 : VM Booting 9. Step 9 (a) : Name your VM (b) Now select the Hard Drive, and click ‘Continue’. Step 9 (b) : Select the Hard Drive. #8873 (USB 3.0 host ports are unsupported)
Installing a GENUINE Mountain Lion OS X in virtualbox. With the looming prospect of having to build ios apps around the corner but not having $2,799 in my pocket to be able to buy one of these, I decided I wouldn't mind coughing up the $19.99 to buy Mountain Lion.
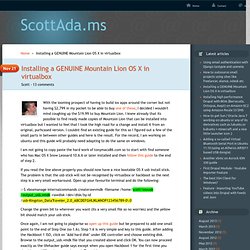
I knew already that its possible to find ready made copies of Mountain Lion that can be installed into virtualbox but I wanted to feel that I took the high road for a change and install it from an original, purhcased version. I couldnt find an existing guide for this so I figured out a few of the small parts in between other guides and here is the result. For the record, I am working on ubuntu and this guide will probably need adapting to do the same on windows. I am not going to copy paste the hard work of tonymacx86.com so to start with find someone who has Mac OS X Snow Leooard 10.6.6 or later installed and then follow this guide to the end of step 2. If you read the line above properly you should now have a nice bootable OS X usb install stick.