
Toddler Bag Handle. I have 2 toddlers and only 2 hands.

(My older girl is 3. Is that still considered a toddler? She’s just as wiggly and active as my 2 year old….) So if I ever need to carry anything extra, I run into an issue. A reader a while back asked if I could make some sort of toddler leash that attached to your purse/bag for a toddler to hold onto. But I know you’ve all been to the store/post office and have had extra bags and/or boxes in your hands……not really sure how you’re going to guide the little ones to the car or through the cart-less stores. Well, here’s a solution. And another reader came up with a handle for her stroller, found here.
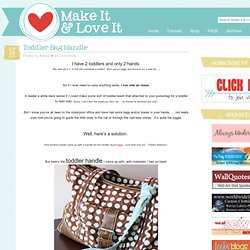
But here’s the toddler handle I came up with, with materials I had on hand. Perfect for the little ones to hold onto, while not being able to actually hold their hand. And when you’re through, just tuck it right into your bag. Are you ready to make your own? (This final leash is about 28 inches long. Start off with a strip of fabric that is 35 x 3.5 inches. Sippy Cup Leash. Remember when I made the sippy cup leash over a year ago, here?

Well, it needed some improvements. Before moving across the country last winter, I realized that the sippy cup leash needed an upgrade. The velcro on the old one was finicky and didn’t stick as well after a while…….especially if the sippy cup was completely full and heavy. (Sorry if you made one and had the same trouble…) Anyway, I created a new one for our long trip cross-country 9 months ago, eliminating the task of retrieving dropped/tossed sippy cups from little hands back in their car seats.
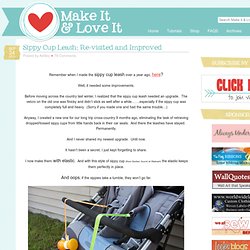
And I never shared my newest upgrade. It hasn’t been a secret, I just kept forgetting to share. I now make them with elastic. And oops, if the sippies take a tumble, they won’t go far. And they attach simply to any sort of bar or strap…..by simply pulling the elastic portion through the loop at the other end. Then pull tight to secure the sippy cup leash in place. Our leashes spend most of the time in the car, attached to the car seats.
Pacifier Pocket. I sewed up another project for The Sewing Republic (by Bernina), a while before we left Georgia……and they now have the project listed and ready for use.

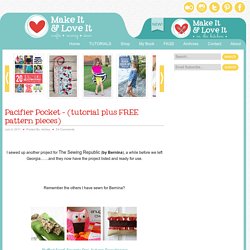
Remember the others I have sewn for Bernina? Ruffled Scarf, Snuggly Owl, Autumn Door Hanger So, for today…….A Pacifier Pocket (cleverly named by Sewing Republic) Since having another baby, I quickly remembered how much I hate losing pacifiers/binkies/paci’s. This little pocket does the job. Wetbag Tutorial. In case you missed me on my friend Sabra's blog Sew a Straight Line, I was a guest blogger a while back and did a tutorial on how to make a wetbag. I like wetbags because you can use them for more than just cloth diapering. Take them to the pool for wet clothing and towels. Maybe you have a little one who is potty training. This would be a handy thing to have in the diaper bag for any accidents.
Much cuter than a plastic grocery bag, don’t you think? To start, you’ll need the following materials: *Two pieces 10” x 12.5” cotton fabric *One 4” x 14” strip of cotton fabric *Two pieces 10” x 12” PUL (polyurethane laminated fabric) *9” zipper *matching thread *I read that polyester thread prevents wicking (leaking of moisture in the bag), so I usually use that if I have it. *baby powder or tissue paper With shiny side of the PUL up, lay your zipper on top of a short side. Place on of the cotton pieces of fabric on top of that, ride side of the fabric touching the zipper. Pin together. Fabric keychains. Hand sanitizer holder. This would make a wonderful gift—especially teacher gifts!

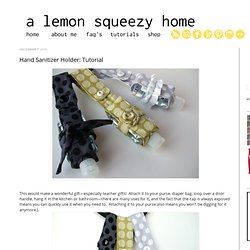
Attach it to your purse, diaper bag, loop over a door handle, hang it in the kitchen or bathroom—there are many uses for it, and the fact that the cap is always exposed means you can quickly use it when you need to. Attaching it to your purse also means you won’t be digging for it anymore:). It uses just a few small scraps of fabric, so you likely have everything you need already. (And sorry—it has been so dark and grey these last few days, so the lighting is a bit horrible for the pictures!) While I was shopping on Black Friday with some family, we stopped at Bath and Body Works and bought some yummy lotions. Anyways, the tutorial I have will show you how to make the size that I am pointing at. So the one I used that will have more specific measurements is a tad over 4” tall, and about 2” wide.