
Sample Diagrams for JavaScript and HTML, by Northwoods Software. Auto-Hide Sticky Header. Auto-hide sticky header is a shot that shoots down two rabbits: makes site navigation easily accessible anywhere on the page and saves content space at the same.
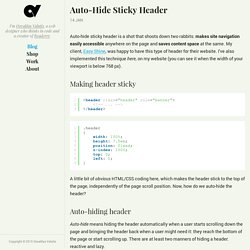
My client, Easy Shine, was happy to have this type of header for their website. I've also implemented this technique here, on my website (you can see it when the width of your viewport is below 768 px). Making header sticky A little bit of obvious HTML/CSS coding here, which makes the header stick to the top of the page, independently of the page scroll position. Now, how do we auto-hide the header? Auto-hiding header Auto-hide means hiding the header automatically when a user starts scrolling down the page and bringing the header back when a user might need it: they reach the bottom of the page or start scrolling up.
Reactive It is when the header directly and instantly reacts to the page scroll. The JS algorithm changes the value of CSS property top when page scroll is performed: Lazy In CSS we define what the class name means: Hover.css - A collection of CSS3 powered hover effects. All Hover.css effects make use of a single element (with the help of some pseudo-elements where necessary), are self contained so you can easily copy and paste them, and come in CSS, Sass, and LESS flavours.
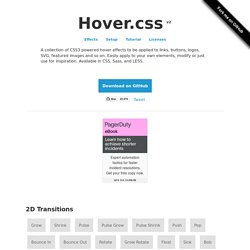
Many effects use CSS3 features such as transitions, transforms and animations. Old browsers that don't support these features may need some extra attention to be certain a fallback hover effect is still in place. Licenses Hover.css is made available under a free personal/open source or paid commercial licenses depending on your requirements. To compare licenses please visit the Ian Lunn Design Limited Store and purchase a commercial license.
Personal/Open Source For personal/open source use, Hover.css is made available under a MIT license: Use in unlimited personal applications Your application can't be sold Your modifications remain open-source Free updates Read full license Commercial Commercial License Purchase | Read full license. Move a Cube With Your Head or Head-Tracking with WebGL - Learning Three. This post is about head tracking and how to use it in 3D.
It is surprisingly easy to do with the suitable libraries. We will experiment with headtrackr.js and three.js. headtrackr.js is a nice library from auduno to do head tracking in the browser. You will learn how to do head tracking in webgl in only 20lines of javascript. I love the web and how easy it is :) tl;dr; links For a simple example. see the “move a cube with your head” demoTo mess with the code now without any installation, see this jsfiddle examplefor an attempt to make 3d more immersive by using head tracking, see this demo WebRTC is great! WebRTC starts to get traction. Auduno is part of Opera team. Demo Time !! As usual we did a plugin for tQuery API to make it easy to use in our environement. Another demo where the camera follows your head. CSS 3D Clouds. CSS3 Family Tree. Creating Custom Form Checkboxes and Radio Buttons with Just CSS! In CSS we have many ways to style things in any way we want.
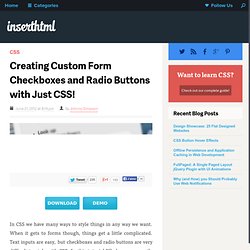
When it gets to forms though, things get a little complicated. Text inputs are easy, but checkboxes and radio buttons are very difficult to style with CSS. In this tutorial I’ll show you exactly how to style these inputs and make awesome forms with just CSS! Effectively, a really good idea for styling checkboxes the only way to style checkboxes, radio buttons and drop downs is with this little piece of CSS: appearance: none; This will take all browser styles off those inputs and we can start to alter them as regular elements. It’s okay though! What we can use So what weapons can we use to create these effects? Recently there has been a bit of discussion on the web about :before and :after when using forms. To get started, lets make a few checkboxes and radio buttons. The next step is some CSS. After that we set the styles for when the user clicks on the checkbox (:active) and when the checkbox is checked.
Web Fonts. Demo: CSS drop-shadows without images. Responsive Typography Demo.