
Crayon Hearts - Martha Stewart Crafts - StumbleUpon. Pioneer Woman Home & Garden. A sweet friend of mine sent the girls and me a box of adorably adorable owl pillows this week.
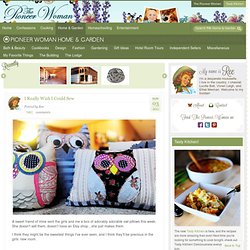
She doesn’t sell them, doesn’t have an Etsy shop…she just makes them. I think they might be the sweetest things I’ve ever seen, and I think they’ll be precious in the girls’ new room. I don’t know what it is about owl pillows. Or owls in general. They’re just so charming. It must have something to do with the eyes. Melted Crayon Art. Perhaps I should begin this post by introducing you to my mom, also known as Her Ladyship Craftiness…er, Her Royal Craftiness?

I’m still working on the title. Regardless, she’s the coolest, most creative and talented woman I know. She can make pretty much anything. At least once during high school, I borrowed a friend’s purse, brought it home to Mom, and she whipped one up just like it for me. Yes, I probably abused the power of being Her Ladyship’s daughter, and I no longer steal my friends’ purses, but the point is: my mom is awesome. If you follow Young House Love, Bower Power, Making a House a Home, or Style by Emily Henderson you know how timely her visit was, as today is the big reveal for the Pinterest Challenge. The supplies were pretty simple: canvas, crayons, and hot glue. The next step was to peel off the paper labels from all 60 crayons.
It worked like a charm. What do you think of our masterpiece? Total money spent: $9.60 Total time spent: about 1½ hours. Audible gasp. Valentine's Day Wall Art. I loved how my Valentine's Day garland and wreath looked so I decided to make another Valentine's Day decoration.
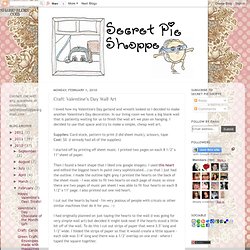
In our living room we have a big blank wall that is patiently waiting for us to finish the wall art we plan on hanging. I decided to use that space and try to make a simple, cheap wall art. Supplies: Card stock, pattern to print (I did sheet music), scissors, tapeCost: $0 (I already had all of the supplies) I started off by printing off sheet music. I printed two pages on each 8 1/2'' x 11'' sheet of paper. Then I found a heart shape that I liked (via google images).
I cut out the hearts by hand - I'm very jealous of people with cricuts or other similar machines that do it for you. :-) I had originally planned on just taping the hearts to the wall (I was going for very simple wall art) but decided it might look neat if the hearts stood a little bit off of the wall. Does that make sense? I printed the outline with the folding lines (light grey) onto card stock and cut them out. A Gripping Yarn - Beyond Beyond. We are getting a tad concerned that we might require a restraining order from all places crafty the moment because we can’t get enough of making stuff right now and top of the make list is Yarn chandaliers.

These objects of DIY lushness make us incredibly happy, they make house decor epicness, but not only that they are a perfect idea for centrepieces and party decoration. So, if you fancy getting your make on this weekend please check out this awesome tutorial on how to make these bad boys on Crafted Love. The photographic glory goes to: Sarah Yates About the author I'm the big kahuna with the whole shebang.
Make a Perpetual Button Calendar for 2011 (and Beyond)... By Diane Gilleland I know calendars (and clocks and address books) are quickly becoming computer-centric tools, but I like the old-school charm of this desk calendar.
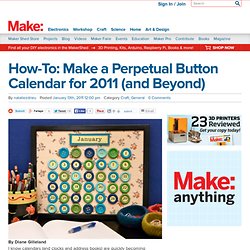
Make it once, and you can use it forever – just move the numbers to their correct location each month, and change the nameplate! Materials Picture frame, 11″x14″ or 16″x20″, see belowSheet of foam board or 1/2″-thick corkRuler Craft knife Piece of woven fabric, about 24″x30″ Spray adhesive Masking tape Scissors 42 large buttons, 3/4″ to 1″ in diameter 42 flat-head thumb tacks 5 sheets card stock, for numbers and nameplatesDownloadable name/number template 3/4″ circle punch, optional E-6000, or similarly strong glue Water-soluble fabric marker Fine-point Sharpie 2 squares of wool or acrylic felt 1 sheet of Friendly Felt, or lightweight chipboard Sewing machine and thread 2 sets Velcro dots plus 22 “loop” style dots (the softer half of a Velcro pair)Greeting card envelope Directions Step 1: First, prepare the background.