
Timm Suess – Photography. The intervaluino is now on GitHub.
If you would like to contribute or participate, this is the place to go! If you liked the Intervaluino, check out the Intervaluino Plus project by Enekochan! This post was featured on the MAKE blog! [link]! If you want to see a time-lapse video made with the Intervaluino, check out my time-lapse videos. Furthermore, there is a good technical discussion going on at the Arduino forum.
If you liked the intervaluino, then I’m very much into electronics right now. Now, I’m back onto electronics – thanks to my video projects. So I decided to use my photo camera for time-lapse shots; to do that, I needed a so-called intervalometer – a device that times the shots to regular intervals. So I decided to build my own. The friendly neighbourhood hive mind pointed me towards getting a microcontroller. And here it is: I call it Intervaluino, and it does exactly what I want him to do: Tell my Canon EOS 400D to take pictures at regular intervals. Features What could be better: AI-1 ("All-in-one") Remote. This page was last updated on July 2, 2008.
Added Brian at Wulfden as a parts source for the Hantronix display and adapter and my Eagle library of selected components for the AI-1 project. August, 2007 One of my other hobbies is photography, and, about a year ago, I purchased a new digicam - a Panasonic FZ30. I joined the Panasonic forum on the dpreview site. One of the posters, a programmer and electronic hobbyist, designed a nifty wireless remote using a very inexpensive RF transmitter/receiver combination that he found on eBay.
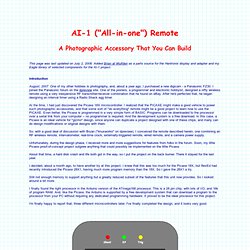
After he'd perfected that, he began designing an interval timer using a Radio Shack egg timer. At the time, I had just discovered the Picaxe 18X microcontroller. So, with a good deal of discussion with Bryan ("linuxworks" on dpreview), I conceived the remote described herein, one combining an RF wireless remote, intervalometer, real-time clock, externally-triggered remote, wired remote, and a camera power supply.
Arduino High Speed Photography Trigger. Camera Axe. I made a new version of Camera Axe.
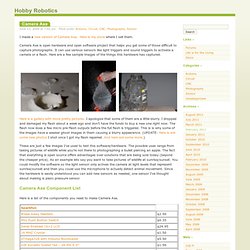
Here is my store where I sell them. Camera Axe is open hardware and open software project that helps you get some of those difficult to capture photographs. It can use various sensors like light triggers and sound triggers to activate a camera or a flash. Here are a few sample images of the things this hardware has captured. Here is a gallery with more pretty pictures. These are just a few images I’ve used to test this software/hardware. Here is a list of the components you need to make Camera Axe. Getting the bill of material cost significantly under $70 should be pretty easy if anyone want to make 10′s of these.
I designed this circuit and PCB board in Eagle. Being my first board I made a few mistakes with the PCB that I’ll correct if I ever print more boards. After I got the PCB back, it was just a matter of soldering all the components in place. I used an ATMega328 with the Arduino bootloader for my microcontroller.