
Kindle Cover from a Hardcover Book. This isn't a kid-related project, but sometimes parents deserve a special treat too!

NOTE: For some reason, this page and tutorial is not loading properly for some readers. If this is the case and you need the step by step directions, just email me at ComeTogetherKids@hotmail.com Last month I treated myself to the new Kindle Fire and I'm loving it so far. After it arrived, I knew I needed a case to protect my new toy, but I wasn't about to shell out another 30 or 40 bucks just for a holder. Check this out... And did any observant readers notice that the title of the book is "Laura"? ( I picked up the book years ago because of the title. Okay, now do you want to see how easy it was to make? Here's what you'll need: approx. 1/3 yard quilted fabric (mine was reversible)3/8" iron on adhesive tape ( I used Heat n Bond )3/8" elastichard cover book that's a bit bigger than your Kindle glue gun (not pictured!)
Bookbinding Tutorial by =JamesDarrow on deviantART. How To Mix Chalkboard Paint in Any Color. We love using chalkboards as backdrops for displays and parties (like this one here!).

So we were super excited to learn that you can create your own custom colors-and it's really easy! We first learned how from Martha Stewart whose tutorial you can read here. She recommends that you use latex paint, but we tried it out with acrylic paints with much success. Here's how you too can create your own chalkboard paint... Supplies: 1/2 cup acrylic paint (choose any color you like, or mix colors together to make the perfect shade!)
1. 2. Once your chalkboard has fully dried be sure to slate the surface before using it for the first time. Have fun creating any color combination you like!! DIY Decorative Paper Cups Garland Lights. By KRetroK | OMG!
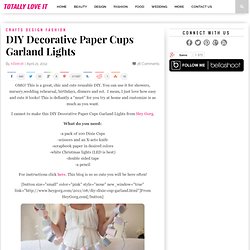
This is a great, chic and cute reusable DIY. You can use it for showers, nursery,wedding rehearsal, birthdays, dinners and ect. I mean, I just love how easy and cute it looks! This is defiantly a “must” for you try at home and customize is as much as you want. I cannot to make this DIY Decorative Paper Cups Garland Lights from Hey Gorg. Make a Stamp with Art Mind. Are you looking for an easy way to make your own stamp?
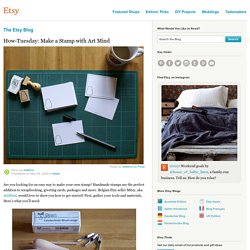
Handmade stamps are the perfect addition to scrapbooking, greeting cards, packages and more. Belgian Etsy seller Mitsy, aka ArtMind, would love to show you how to get started! First, gather your tools and materials. PDF Pattern – Quilted Diamond Tote Bag – misusu&more. Please enter your name and email.
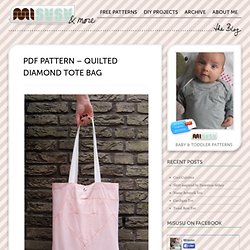
Don’t worry, your information won’t ever be sold or shared with any 3rd party. I will only send you an occasional email with important news. Today I wanted to share a free downloadable DIY sewing project for the weekend that is going to make you look cool and is super practical at the same time! How to make an easy and pretty tie-dyed bag at home. Supplies needed: Craft bag from the craft store, usually around $2DyeRulerPinsTubOther supplies needed, not pictured:SaltStick to stir dye solution3 gallons of hot water Start by getting your craft bag wet.

Then you will want to measure your ombre lines. I keep mine 3 inches apart + find that four make a good gradient. Love forever: Making it: Watercolor Striped Cards. Welcome to the first of what I hope will be many DIY projects on my blog!

I've been a bit of a nut for watercolors lately so I've been playing with a bunch of different techniques. So when 3M sent me a few rolls of their Scotch Blue painter's tape to craft around with, I came up with this very simple technique for decorating greeting cards. So let's get started! You will need:Premade blank cards (or cardstock to make cards)- make sure it's thick enought o handle watercolorSelf healing cutting matCraft knifeRulerPainter's tapeWatercolor paints Small paint brushContainers with water for your paintsNewspaper to protect your work surfaceDecorative washi tape (optional but awesome!) Step 1: Tear off a piece of tape a couple inches longer than your card and affix it to the self healing cutting mat.
Step 2: Carefully pull up all your tape stripes! Step 3: Protect your work surface with some newspaper and affix your tape stripes to your card as desired.