
Minieco tutorials. Free HTML Tutorial. HTML stands for Hyper Text Markup Language, and is the code that all web pages are written in.

The best way to think of HTML is that it’s a way of annotating a mass of plain text to turn it into a web page. By doing this, it can describe each and every part of the page’s structure. HTML adds structure to text by annotating it with tags. A tag is made up of a word or abbreviation surrounded by angled brackets. In HTML, tags are placed at the beginning and at the end of the text they are structuring. <tag>Element</tag> Note that the closing tag includes a forward slash immediately inside of the opening bracket. OK, enough of the theory! HTML Tags To make text bold, websites use the <strong> tag. Closing tags are <strong>very</strong> important. Here’s the result: Closing tags are very important. The word ‘very’ has been bolded because it is surrounded by the <strong> tag. Italics are much the same, but the <em> tag is used. Result: Another important tag is the <h1>tag.
How-To: Build your own HD projector (Part 1) Been eyeballing those sweet new high definition projectors?
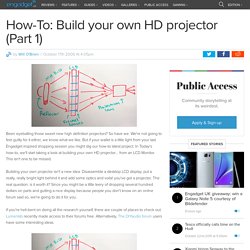
So have we. We're not going to feel guilty for it either, we know what we like. But if your wallet is a little light from your last Engadget inspired shopping session you might dig our how-to latest project. In Today's how-to, we'll start taking a look at building your own HD projector... from an LCD Monitor. This isn't one to be missed. Building your own projector isn't a new idea. If you're hell-bent on doing all the research yourself, there are couple of places to check out. Lumenlab has put together a nice document describing the details. The LCD is key to the project. We have to give props to the guys that are using the WXGA screen that's usually only found in laptops to achieve native 1080 resolution. More importantly, our LCD accepts almost any input. To maximize the light aimed at the screen, we'll add a reflector just behind the bulb. The light source is a 400 Watt Metal Halide bulb.
LED multimedia projector. Read the whole instructable before purchasing something.

Parts you need: 2nd hand projector: 15€ (20$) LED 30W, Cold white 6500k, 2500lumen: 15€ (20$) LED driver 30W: 8€ (10,75$) Lens: 2,8€ (3,8$) Reflector: 1€ (1,3$) Heat sink: 0€ recycled from scrapped computer Thermal heat paste: 1,5€ (2$) Solder: you don’t need much of it 0€ Tape: you don’t need much of it 0€ Aluminum tape: you don’t need much of it 0€ Create an Awesome 3D Anaglyph Poster. In this tutorial, we'll take inspiration from these movies of yesteryear and recreate a retro B-movie styled poster.
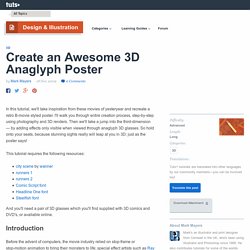
I'll walk you through entire creation process, step-by-step using photography and 3D renders. Then we'll take a jump into the third-dimension — by adding effects only visible when viewed through anaglyph 3D glasses. So hold onto your seats, because stunning sights really will leap at you in 3D: just as the poster says! This tutorial requires the following resources: And you'll need a pair of 3D glasses which you'll find supplied with 3D comics and DVD's, or available online. Before the advent of computers, the movie industry relied on stop-frame or stop-motion animation to bring their monsters to life; special effect artists such as Ray Harryhausen used this technique on classics such as "One Million Years BC" and "The Valley of Gwangi". Create a new A4 portrait document (21cm x 29.7cm) at 300dpi in RGB Mode and choose White from the Background Contents drop-down menu.