
Potholder Tutorial and the Fusible Thread Trick! If you weren’t able to make it to our free mini-class on how to make potholders, or you just want a reminder of what we covered in the class, check out the tutorial below.
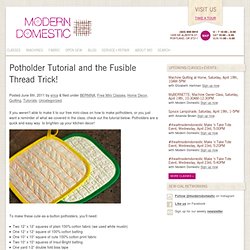
Potholders are a quick and easy way to brighten up your kitchen decor! To make these cute-as-a-button potholders, you’ll need: Two 12″ x 12″ squares of plain 100% cotton fabric (we used white muslin)One 12″ x 12″ square of 100% cotton battingOne 10″ x 10″ square of cute 100% cotton print fabricTwo 10″ x 10″ squares of Insul-Bright battingOne yard 1/2″ double fold bias tapeThread in a color that will stand out against your plain fabric, we are currently loving the Mettler Neon threads! Fusible threadScissorsWater- or air-soluble fabric markerSeam gauge The first step to putting the potholder together is to free motion quilt your muslin and batting together.
Get ready for some free motion quilting fun! You’ll want to thread your machine with a thread color that will pop against the plain fabric background. The split stitch: Get Your Craft On! Reversible Quickie Coaster Tutorial. Okay, so along with the free cross stitch chart from my last post, how about a tutorial too?
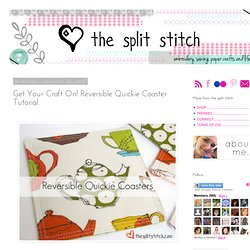
This is perfect to make as a last minute gift .... some coasters! These coasters are meant to be reversible, and are great for using up scraps of fabric. I know, I know ... coasters are really easy to make as it is ... how can I make them even easier? Let's find out. The secret to these coasters are 3 things: fabric charm squares, a 4.5" square ruler (I think I found mine at Walmart!)
So here is what you need: * 8 fabric charm squares. Recycled Slipper Tutorial. I am going to show you one slipper.
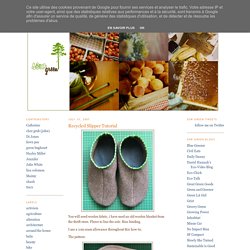
Once finished you will make the other by reversing the pattern pieces, we don't want two of the same do we? From the woolen blanket cut out one sole and one of each top piece. From the fleece cut out one sole: Baste the fleece and woolen soles together: Sew the top pieces together as in the photo, trim the seam and press open: Sew the top pieces together at the heel, trim the seam allowance and press open: Pin the top to the sole and sew around the edge, trim the seam allowance: Turn it right side out and press the seams. Make your binding by cutting strips from your chosen fabric on the bias. Fold your binding in half and press.
Pin the binding around the outside of the opening. sew in place with a 5mm seam allowance. Fold the binding to the inside and pin in place. Make the other slipper and now you can have toasty warm toes! Enjoy.
Projects. Online Sewing Classes. Class Description Increase your sewing savvy with fit and finishing techniques from Diana Rupp of Make Workshop.
In Sewing Studio, she'll walk you through two classic patterns - an Envelope Pillow and Naughty Secretary Skirt - using methods you'll use again and again. Create them using patterns from her book Sew Everything Workshop (not included with this class), or substitute with patterns of your choice. Watch step-by-step tutorials on zipper insertion, lining a skirt, adding darts, finishing with French seams and much more.
Learn More about Sewing Studio Lesson Plan Lesson 1. The course begins with a brief introduction to the Sewing Studio and Diana Rupp, author of Sew Everything Workshop. Lesson 2. While working on your pillow, you will learn about fabric construction, different types of edges, cutting, hemming, seam allowances and how to construct the French seam. Lesson 3. In this session, you will assemble, sew, press and finish your pillow. Lesson 4. Lesson 5. Lesson 6. Lesson 7.