
Toralf Sümmchen. Add Dynamic Lighting to a Flat Photograph. In this tutorial, I will show you how to spice up a fairly dull and flat photograph.

It's very easy and fast! Go from flat photo to a uniquely lit style. Editor's note: This tutorial was originally published on Psdtuts in March of 2008. For this tutorial, we'll need two photos that I took. You can download them to follow along. First of all, my apologies for this step. Anyway, just use the Patch Tool (J) to remove the car and the Clone Stamp Tool (S) to recreate the pattern of the bricks where it used to be. If you've never used the Patch Tool, there are a couple of ways to use it. Once the van has been removed, apply Filter > Render > Lighting Effects to make the light come from the top right. With the tool that you prefer, create a selection of the part that you want to hide.
Duplicate the background layer, desaturate it with Ctrl+Shift+U, apply Filter > Blur > Gaussian Blur with 4-pixel Radius, and set the Blending Mode for the layer to Overlay. Send it to the back of the other layers. Capturing The Smoke – Amazing Smoke Photography Tutorial. Amazing Smoke Photography Tutorial Everyone has seen smoke in various forms.
For some, smoke is an allergy and for some, smoke is an inspiration. If you belong to the latter category, welcome to the world of smoke photography. Today, we are going to tell you how you can make awesome creations from the very ordinary looking smoke that you encounter in your day to day life. But before that, have a look on what exactly we’re talking about.
You might also like these Elegant Smoke Photos . Exited? Camera: Obviously, the most important thing. Setting Up The Stage This is another important step in capturing the photographs as this only will decide the quality of photographs that you’ll get. On a full note, here is a schematic diagram on how the whole thing should be set up: Photo credits Okay. Photo Credits The Camera Settings After you’re done with setting up the stage, it’s time for some action. Final Words And you’re good to go. Water Photography The Easy Way. There are loads of images all over FLickr and alike featuring coloured drops of water close up.
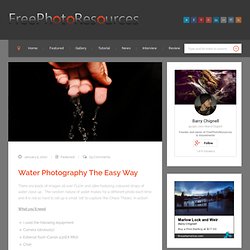
The random nature of water makes for a different photo each time and it is not as hard to set up a small ‘set’ to capture ‘the Chaos Theory’ in action! What you’ll need I used the following equipment;Camera (obviously)External flash (Canon 430EX MKii)ChairWhite and black clothLamps x 2TripodSpatula (or similar)BowlWaterFood colouring Subject Setup First I took the chair, turned it around and draped the background cloth over the back of it. Next I set up 2 variations for the shoot;