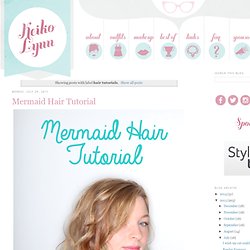

Hair tutorials. After many requests, I finally made a tutorial on how to tie a simple head scarf.

It's really, really easy. I did this without looking in the mirror, so that should tell you how easy it is. Let's get started! Start with a large, square scarf. I like my vintage silk scarves because they're soft and not bulky. Fold one corner to the other to form a triangle. Fold the corner down to about the middle, and then fold over again (but not all the way to the edge, because you want it to be a little thicker).
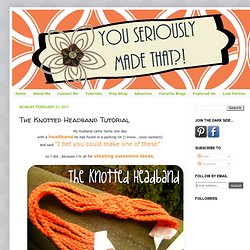
Put the scarf around your head with the ends in the front, making sure the wrong side of the scarf (the part where you can see the folds) is against your head. Tie it in a loose knot at the front. Tuck the ends behind/underneath the scarf. Done! The Knotted Headband Tutorial. My husband came home one day with a headband he had found in a parking lot (I know...sooo sanitary) and said "I bet you could make one of these" so I did...because I'm all for stealing awesome ideas.

Difficulty: Medium Time: 30 minutes Cost: Under $10 Fun-ness: Why would I do a boring project? Materials: Yarn (100% cotton for a crisp look, acrylic for a softer look) Size H or J hook Ribbon (approximately 1/2 inch wide) Hot Glue Gun Directions Step 1: Creating the Chains And that's it! So wear your headband with pride! Love the headband, but don't want to make it yourself? Fun Friday - DIY Beach Hair - asuyeta [ah-soo-yeh-tah] clothes & accessories. handmade with love.
I love the messy hair/bohemian look.
![Fun Friday - DIY Beach Hair - asuyeta [ah-soo-yeh-tah] clothes & accessories. handmade with love.](http://cdn.pearltrees.com/s/pic/th/dreamers-photography-universe-74142767)
I also love the beach. So, here is a DIY Sea Salt Beach Hair Spray that I can not live without anymore! The hair just looks so pretty, just like after a day at the beach. And it works for any hair length! Here you go, the tutorial on how to make the beach hair spray: Here is what you'll need: ♥ Coconut Oil ♥ Sea Salt ♥ Vodka ♥ Hair Gel ♥ Spray Bottle ♥ Measuring Cups Here is how do make your very own beach spray: 1. 2. 3. 4. 5. 6.
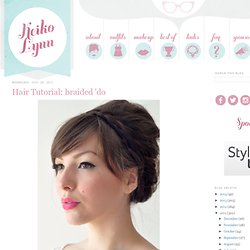
You look so beautiful! Now all you need is a beautifully handmade piece of clothing to finish of the look: {click on images to shop!} Now it's your turn! ♥ Erika PS. Want more radness delivered conveniently to your inbox? Makeup, cosmetics and beauty - makeup by Chanel. Diane Higgins Beauty Basics, New York Beauty Salon, New York Facials and Beauty Treatments. Hair Tutorial: braided 'do. I know I said I would post this hair tutorial yesterday, but obviously I'm a no good liar because today is not yesterday, it's today.

This hairstyle is basically the same thing as milkmaid braids, only modified to up the volume and lessen the big part in the back. Pigtails or regular milkmaid braids make me look like I'm balding, as I have a wicked scar in the back of my head. I would recommend doing this in a mirror and checking the back to make sure it's all neat and tidy as you go, because I did not and it's a little (or a lot) messy in the back. I redid it before heading out and it looked much better, so make sure you use a mirror! For full instructions, keep reading after the jump. What you need: dry shampoo or volumizing product (like the Sachajuan volume powder I often use) bobby pins brush If your hair needs added texture, you can use a dry shampoo. You should now have what is known as the Snookie. Divide the lower section into two parts and braid.