
Design a futuristic abstract poster. By Sebastiano on 19/05/09 at 7:35 am Hi there! This week I’m really inspired so I’ve written a second tutorial This time we will learn how to create a futuristic abstract poster design using layer styles, shapes and “space” effects. The inspiration derives from a work of Edmar Cisneros . I was attracted by the ornamental squares of the background and…yes I love geometrical elements in grafic design. So lets create this nice effect : Final Image Preview: Step 1 – The background Let’s start with a radial gradient from blue (#142661) to black (#000000). Step 2 – Geometry Use the rectangle tool to create a square (simply press shift while drawing it). Tip: if you want to position the square in the center of your canvas, simply select the square layer, click ctrl+A to select all the pixels of the canvas, and use the alignment tools.
Step 3 – Squares Duplicate the square layer to create our geometrical design. How to create new squares: duplicate the layer of the square. Step 4 – The symbol. Tutorial: How to make retro/futuristic curves in 10 Steps. As promised when releasing the December 08 Calendar Wallpaper I’ve written a tutorial on how to make it.
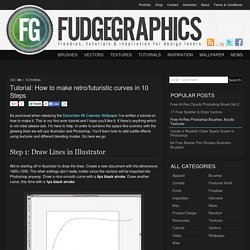
This is my first ever tutorial and I hope you’ll like it. If there’s anything which is not clear please ask. I’m here to help. In order to achieve the space like scenery with the glowing lines we will use Illustrator and Photoshop. You’ll learn how to add subtle effects using textures and different blending modes. Step 1: Draw Lines in Illustrator We’re starting off in Illustrator to draw the lines. Step 2: Blending the curves Go to Object > Blend > Blend Options and set the Blending Steps to 12. REPEAT STEP 1 and 2 to make another set of curves. Step 3: Importing the curves into Photoshop Create a new document in Photoshop.
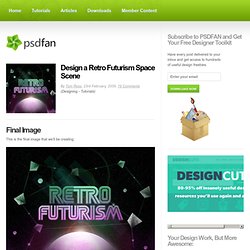
Step 4: Applying Gradient and Glow Effect Select one of the layers containing the curves and go to the Layer Style Menu. Right-Click on the layer in the layers palette and choose “Copy Layer Style”. Step 5: Copy the Curves + Composition Step 6: Clouds and Colours. Design a Retro Futurism Space Scene. Final Image This is the final image that we’ll be creating: Images Used Desert Photo Moon Photo Concrete Texture Sega Free Font Step 1 Open up a new document (600X500px) and create a new layer called ‘stars’.
Step 2 Then go to filter>noise>add noise. Step 3 Now to make the noise effect left intense, and the ‘stars’ more pronounced go to image>adjustments>brightness/contrast. Step 4 Paste in a desert landscape into the bottom of your canvas. Step 5 Use a medium sized soft eraser brush to erase away the sky part of your landscape, just leaving your rocky landscape. Step 6 Paste in a photo of the moon into the bottom of your canvas. Step 7 Now go to blending options for your moon layer and apply a pink color overlay (blend mode: overlay). Step 8 Now apply a white outer glow blending option to your moon layer. Step 9 Now go to your layers palette and option+click on your moon layer.
Step 10 Now apply a gradient overlay (white to black), and a bevel effect.