
Sewing Tip: Squarely Boxing those Corners « Craft Apple. Sewing Tip: Squarely Boxing those Corners Here’s another sewing tip that I had to learn the hard way.
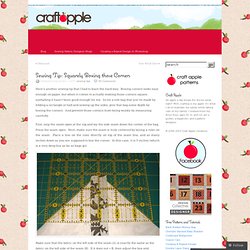
Boxing corners looks easy enough on paper, but when it comes to actually making those corners square, eyeballing it hasn’t been good enough for me. So for a tote bag that you’ve made by folding a rectangle in half and sewing up the sides, give that bag some depth by boxing the corners. And prevent those corners from being wonky by measuring carefully. First, snip the seam open at the top and lay the side seam down the center of the bag. Make sure that the fabric on the left side of the seam (A) is exactly the same as the fabric on the left side of the seam (B). Now draw a line across the bottom of the ruler and pin fabric into place. This is the line you will sew on. This is a bag with an ~1 1/2″ box. Happy corner boxing! Simple Makeup Bag Tutorial « Terri's Notebook.
What girl wouldn’t want to carry such a pretty makeup bag?
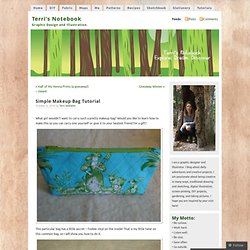
Would you like to learn how to make this so you can carry one yourself or give it to your bestest friend for a gift? This particular bag has a little secret – fusible vinyl on the inside! That is my little twist on this common bag, so I will show you how to do it. Supplies: Fat quarter for outside – I used a cute toile print by Jennifer Paganelli. Fat quarter for lining Batting or interfacing Fusible Vinyl – I used Therm-O-Web Iron-On Vinyl (from Joann’s) 7-inch zipper Usual sewing tools (ruler, rotary, thread, iron) Note: use a 1/4 inch seam allowance throughout this project. Cutting: 1. Cut out your batting or interfacing 9-1/2 inches wide x 5-1/2 inches tall. Cut out two pieces of fusible vinyl 9-1/2 inches wide x 5-1/2 inches tall.
Cut two pieces of either fabric 2.5 inches wide x 2.5 inches long or 2.5 inches x 3 inches long. Preparing the Pieces: How to make a simple (reversible) tote bag. Here is a simple way to make a tote bag.
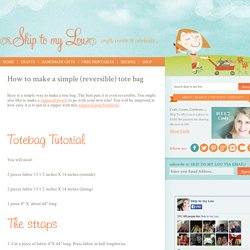
The best part it is even reversible. You might also like to make a zippered pouch to go with your new tote! You will be surprised at how easy it is to put in a zipper with this zippered pouch tutorial. You will need: 2 pieces fabric 13 1/2 inches X 14 inches (outside) 2 pieces fabric 13 1/2 inches X 14 inches (lining) 1 piece 4” X about 44″ long. P.s. i quilt: friendship bag tutorial. Need a little gift to send your quilty pals???
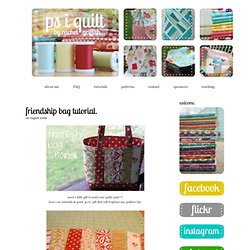
Here's an adorable & quick 'go to' gift that will brighten any quilters day. yall will need sixteen 1 1/2" x 5" strips of your choice. {2 each of 8 different prints.} i used honey bun strips. sew 8 of your strips together to make a 8 1/2" x 5" piece. {yall will need 2 of these pieces.} attach a 8 1/2" x 5" piece of fabric in between your two strip pieces. layer your pieced top on some warm & white batting. quilt as desired. it might feel funny to quilt without a backing, but yall can do it. trim your excess batting off. fold your quilted piece in half matching strips with strips. sew all the way down on both sides. we're gonna box the corners now. fold your fabric down to make a triangle. mark a line 1 1/2" from your point. stitch on your drawn line. cut off excess to make a 1/4" seam allowance. rinse & repeat to do the other side. turn your bag right side out. see those cute little boxed corners???
Cut two 2 1/4" x 10" strips to make handles.