
Gimp-tutorials.net - Gimp , tutorials , brushes , downloads, forum. Preview: This GIMP tutorial will teach you how to create an effect similar to the one used at MSNBC.com.
The orignal tutorial can be found here. all credits go to Fabio from psdtuts.com, I'm just demonstrating how the effect can be done in GIMP. Step 1 Depending on what your going to use the effect for pick a suitable canvas size..i'm going to create a 600x450 to fit the width of the site and fill the background to Black. Step 2 Grab the "Blend tool" and set your foreground color to 28188f and background color to black and in the "Tools options" dialog under Gradient select FG to BG (RGB) and shape to Radial.
Step 3 Now apply the the gradient from centre to lower bottom corner. This is how it should look Step 4 This step isn't 100% as in the PS tutorial but close enough :). -Random: 3-Tick Turbulent option-Detail: 15-X size: 16-Y size: 0.1 Step 5 Now will sharpen the image to give it better detail to the lines. go to Filters>Enhance>Sharpen and set to 72 Step 6 Step 7 Step 8 Step 9 Final Result. Free Photography, GIMP & Photoshop Tutorials. In this very simple tutorial I’ll show you how to achieve a very similar Neural Density Filter (N.D Filter) effect to your photographs by using gradients in GIMP.
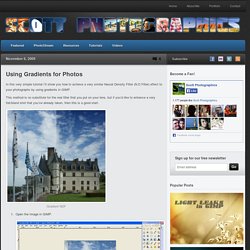
This method is no substitute for the real filter that you put on your lens, but if you’d like to enhance a very flat/bland shot that you’ve already taken, then this is a good start. Gradient NDF Open the Image in GIMP. Getting StartedCreate a New Transparent layer (call it: NDF). New Transparent layer Adjust the layer NDF to Soft Light. Before / After Please comment below if you have any questions and I’ll answer them ASAP! All images on this site are copyrighted – All Rights Reserved.
Written by Mike Michael Scott is the publisher and photographer behind Scott Photographics! Temporary40: Nebula Clouds. This tutorial was created long time ago too.
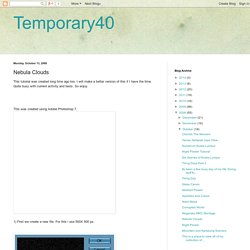
I will make a better version of this if I have the time. Quite busy with current activity and tests. Create a shocking sphere/ball — Tutorials — gimpusers.com. 1 First we are making the shock ball.
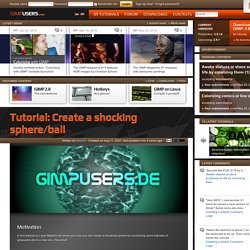
For that we create a new file with the size 500×500px. 2 Filters>Render>Clouds>solid noise, use parameters from picture 3 Filters>Artistic>Cubism, use parameters from picture and then Filters>Edge-Detect>Edge with standard parameter 4 Now your picture should look like this: 5 Filters>Map>Map Object, use parameters from picture, select by Lightsource type “no light” 6 Now your picture should look like this: 7 Filters>Distorts>Polar Coords, use parameters from picture 8 Image> Transform>Rotate 90 degrees CCW, then Filters>Distorts>Wind, use parameters from picture 9 Then repeat with Ctrl+F. Image>Transform>Rotate 90 degrees CCW, then Filters>Distorts>Polar Coords, use parameters from picture (look at the left picture)Now your picture should look like this:(look at the right picture) 10 Now there is a white border round the image.
How to generate realistic mass waterdrops on a surface — Tutorials — gimpusers.com. 1 a word before we start: I’m using the dialogue “Color” very often in this tutorial.
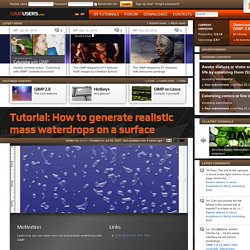
If you use GIMP 2.2 the options i mean are found under Layer / Colors, since 2.3 this is only the menu “Color”.Create a new file: 800×600px. Fill it with any background color you want. I did a soft blue gradient – that looks cool. 2 Add a new Layer. Filter / Render / Solid noise. User max values: 16/16. 3 Colors / threshold, look at the pic below to see the values )left: 86, right: 172). 4 You’ll get a picture that looks like mine below: 5 Choose Colors / Color to Alpha and choose white to make all white transparent.After this invert all the pixels: Colors / Invert. Hope you like it! How to use GIMP: Tutorials and resources : Latest Tutorials: Page 2. Create soft glassy buttons — Tutorials — gimpusers.com. 1 Create a new file: 150×35 px.
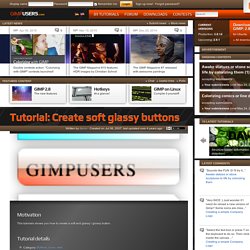
White background. Activate the gradient-tool (L). Now choose #005a71 as primary (foreground) color. Use #00eaff as background-color. Drag the gradient from inside the upper edge of the image to the bottom: cname the layer: “Gradient”. You’re done ;) If you want to test some other colors do it the fast way →- Add layer - Fill with your preferred color - set Layer mode to “Color”.A little tip: The buttons look best on white background with a very slight black shadow.