
21 Tips for DIY Sharpie Marker Mugs. Images from Savvy Sugar, A Beautiful Mess, Just Imagine, & Tuts+.

Disclosure: Affiliate links are used in this post to help keep this blog running! One of the most popular crafting trends right now is to use a Sharpie marker to add designs to mugs. {I’m sure you’ve seen them all over Pinterest, just like we have!} The Cozy Old "Farmhouse": DIY Sharpie Mug - Does It Really Work? So, I'm sure you've seen the Sharpie mugs all over Pinterest in the last couple of months.
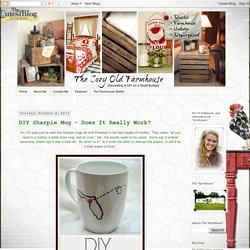
They claim, "all you need is a marker, a dollar store mug, and an oven," but...the results seem to be varied. Some say it worked awesome, others say it was a total fail. 16 Ideas for Your Library - Designer Libraries. Beneath My Heart: Cute, Inexpensive, and Easy Christmas Gifts. A Hug in a Mug: DIY Sharpie Mug Tutorial. About a year ago, I stumbled across this item on Etsy.
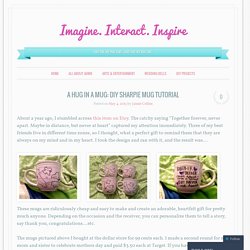
The catchy saying “Together forever, never apart. Maybe in distance, but never at heart” captured my attention immediately. Three of my best friends live in different time zones, so I thought, what a perfect gift to remind them that they are always on my mind and in my heart. I took the design and ran with it, and the result was… These mugs are ridiculously cheap and easy to make and create an adorable, heartfelt gift for pretty much anyone. The mugs pictured above I bought at the dollar store for 99 cents each. I’m not the most artistically talented person. Once you’re happy with your idea, use a mechanical pencil to sketch the design and drawings onto the glass. Glossy surface, if you mess up, you can erase with the simple wipe of a finger. Now is the time to pick colors. Once they are cool, you are good to go. And there you have it: an inexpensive, creative gift that takes no time at all. How to Install a Fabric Feature Wall : Page 02.
Foam Soap Refill Recipe. The Kim Six Fix: How to Paint Upholstery (Latex Paint and Fabric Medium) I finally am sharing my tutorial for painting upholstery that I used when I re-did the glider in the baby’s nursery.
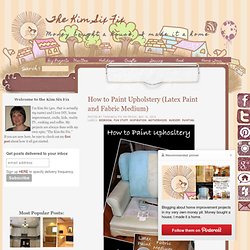
I know there are a lot of other bloggers who have shared their method for painting upholstery, but no two are the same. I have seen people use chalk paint, spray on paint, Rit dye.. etc. Ballard Designs Knockoff Paintings. My two favorite catalogs to get in the mail are Pottery Barn and Ballard Designs.

I love to study the spaces they create and I turn down the corners of the pages that are my favorite in order to bookmark them. The page below was the lucky recipient of a ‘corner turndown’ in a recent Ballard Designs catalog. via Ballard Designs This room was masterfully composed by designer William Peace. I love the relaxed feel of the space and the mix of grays, blues, beiges, and golds. I was inspired to use these paintings in my recent powder bathroom makeover but did not have the money or space to purchase Ballard’s version (if you do, by all means please buy them I’m all about supporting artists)! Adventures in water marbling / part 2. I was pretty pleased with how my marbled cards turned out, but it wasn't until I had cleaned up all the supplies that I had the idea to try on some 3D objects.
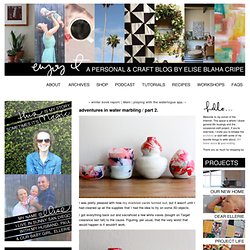
I got everything back out and sacraficed a few white vases (bought on Target clearance last fall) to the cause. Figuring, per usual, that the very worst that would happen is it wouldn't work. But hooray! It worked. I used the same exact technique to swirl the nail polish and then I just rolled the vase on the surface of the water (remember to wear gloves!). This method, because of the rolling, took a bit more effort, but the results were so fun. Since I used nail polish for the paint, I wouldn't use these for food, but they're perfect "catch-all" dishes for jewelry, keys and washi tape.
DIY Tufted Banquette Tutorial. Here's how I made the banquette in 11 easyish steps!
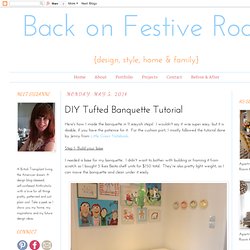
I wouldn't say it was super easy, but it is doable, if you have the patience for it. For the cushion part, I mostly followed the tutorial done by Jenny from Little Green Notebook. Step 1- Build your base I needed a base for my banquette. DIY Greek Key Molding Tutorial. I have been working on this tutorial for several days, and I am soooo excited to finally post it!
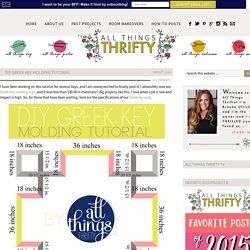
I absolutely love our Greek key molding wall, and it was less than $30.00 in materials! I dig projects like this. I love when cost is low and impact is high. So, for those that have been waiting, here are the specifications of our Greek key wall. I designed this in Photoshop to be true to size. As you can see in the design plan below, I color coded each board so you can see the cuts you will need. Most of your joints will be a 45 degree cut, but if you notice in the picture below the red boards have a 45 degree cut on one side and a straight cut on the other to butt up against the green board. Tutorial: How to do Diamond Tufting. One of my favorite things to do here at All Things Thrifty is to provide a step by step tutorial for those that would like to recreate a project themselves.
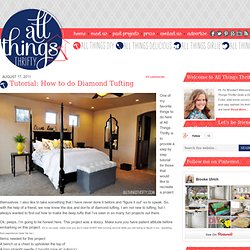
I also like to take something that I have never done it before and “figure it out” so to speak. So, with the help of a friend, we now know the dos and don’ts of diamond tufting. Slip-Covered Ottoman. My family & I just returned from a few fun days in Washington D.C., one of our favorite vacation cities. Of course one of the highlights was a visit to the National Museum of American History, where I came across the above quote in an exhibit showing a household in the 1800's.
DIY French Poetry Pillow...and...Envelope Closure Tutorial. I’ve been at it again…I’ve made another pillow!
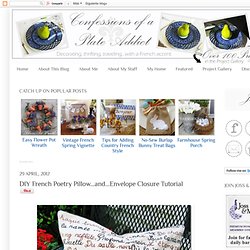
But this time I wanted to do a little something different, so I created my own fabric design using my favorite French poem. Of course, we can’t talk about pillows without the help of our own pillow princess…the lovely Miss Kitty…who loves to pose among them! Here she is lounging with my Pottery Barn inspired frenchy pillow in the background…her favorite pillow ever, she says. Mini Lounger Tutorial. Welcome Pinners! Don't miss the latest DIY's and Tutorials from Small & Friendly, please subscribe via email or in a reader! DIY geometric terrarium. Make this pretty and inexpensive re-purposed terrarium or dish plant for you home! This faceted light fixture was picked up at the thrift store, you can find them there all the time.
They were ubiquitous in the nineties and resemble the pricey products that are popular now. Perfect! If you can’t find something faceted, you can use many other things, like jars, vases, bowls and what have you. And if you happen to be a low maintenance kind of person, you can skip the live succulents and buy the fake ones from ikea. Supplies: succulents (you can pick up fake ones too here) plastic sheet of some kind (to cover the holes) rocks ceiling light fixture (thrift store) or something with faceted sides soil 1.
DIY: Re-Upholster Your Parsons Dining Chairs (Tips From A Pro) In the nineties, I worked at a custom furniture manufacturer. I upholstered sooooo maaaaany Parsons chairs that I almost shudder feel nostalgic when I see them now. Parsons dining chairs are fairly simple to re-upholster. (And unlike the 90s version, the legs are no longer upholstered, whew!) If you’ve got a bit of upholstery experience under your belt, and some basic upholstery tools, there’s no reason to be intimidated. Thrifty and Chic - DIY Projects and Home Decor.