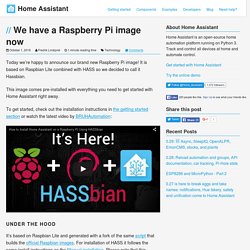

We have a Raspberry Pi image now - Home Assistant. Today we’re happy to announce our brand new Raspberry Pi image!

It is based on Raspbian Lite combined with HASS so we decided to call it Hassbian. This image comes pre-installed with everything you need to get started with Home Assistant right away. To get started, check out the installation instructions in the getting started section or watch the latest video by BRUHAutomation: Under the hood It’s based on Raspbian Lite and generated with a fork of the same script that builds the official Raspbian images. On first boot the latest release of Home Assistant will be installed and can be reached after 3~5 minutes. As it is today there is no pre-compiled Z-Wave support but it can be installed by following the Getting started instructions for Z-Wave.
Home Assistant : installation et 1er pas sur Raspberry Pi. Home Assistant (@Home_Assistant) est un serveur domotique entièrement écrit en Python qui s’installe avec une seule ligne de commande dans le Terminal.

Ce serait dommage de ne pas l’essayer ! Home Assistant est un projet open-source qui devenu très rapidement une référence dans le monde des serveurs domotique (github). Seul bémol, Home Assistant n’est disponible qu’en Anglais. Il est possible de traduire les étiquettes des widgets mais ça ne va pas au delà. Home Assistant et toutefois un très bon outil d’apprentissage si vous débutez en domotique ou en programmation.
Pour rédiger cet article, j’ai utilisé un Raspberry Pi 3 avec la dernière version de Raspbian Jessie. Sur les machines Linux, il suffit d’executer la commande suivante dans le Terminal. pip3 install homeassistant Pour les utilisateurs de Windows 10 (ou 7), commencez par installer Python 3 puis dans le Command Prompt python -m pip install homeassistant Démarrer La commande hass permet de démarrer Home-Assistant depuis le Terminal. Using USB webcams with Home Assistant - Home Assistant. In the past month I was thinking about ways to integrate USB webcams into Home Assistant again.

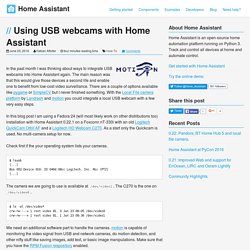
The main reason was that this would give those devices a second life and enable one to benefit from low-cost video surveillance. There are a couple of options available like pygame or SimpleCV but I never finished something. With the Local File camera platform by Landrash and motion you could integrate a local USB webcam with a few very easy steps. In this blog post I am using a Fedora 24 (will most likely work on other distributions too) installation with Home Assistant 0.22.1 on a Foxconn nT-330i with an old Logitech QuickCam Orbit AF and a Logitech HD Webcam C270. As a start only the Quickcam is used. Check first if the your operating system lists your cameras. $ lsusb [...] The camera we are going to use is available at /dev/video1. . $ ls -al /dev/video* crw-rw----+ 1 root video 81, 0 Jun 23 08:05 /dev/video0 crw-rw----+ 1 root video 81, 1 Jun 23 08:36 /dev/video1.
BRUH Automation: BRUH2 Overview. Raspberry Pi all-in-one installer - Home Assistant. Home Assistant.