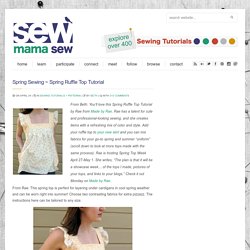

Spring Sewing ~ Spring Ruffle Top Tutorial. From Rae: This spring top is perfect for layering under cardigans in cool spring weather and can be worn right into summer!

Choose two contrasting fabrics for extra pizzazz. The instructions here can be tailored to any size. Side view with pockets. Step 1: Take your chest and hip measurements. Measure around your chest, with the measuring tape under your armpits and above your bustline (this is NOT the fullest part of your chest). Example: My chest measurement is just over 35 inches. Here is the formula for you to use: ____ + 1” = _____ / 2 = _____ + 1” = ________ inches Next measure around your hips at their fullest point. Example: My hip measurement is 41 inches. 41” / 2 = 20.5” + 1” (seam allowances) = 21.5” (we will call this “Y”) Back detail. Step 8: Attach straps to chest band. Step 9: Shaping (optional) and finish hem. Step 11: Stand back, admire, take a picture and put it in the SMS Flickr Pool! Green top variation with contrasting fabrics. Joyful Ruffle Neck Top – Tutorial. Last week I showed you the top I made for my MIL’s B-day, remember?
Well today is My Mom’s B-day! So Feliz Cumpleaños Mamá!! And as part of the celebration, I will show you how to make this top! Maybe it can be the Mom’s B-day Top!! The process is not very complicated and if you are making one for yourself I will describe the measurements I took, so you can adapt them to fit you. For the top I used some left overs I had of red polka-dot Chiffon, and I wear the top with something under it because the fabric is see trough, but you can make it with your choice of fabric, so you can wear it alone.
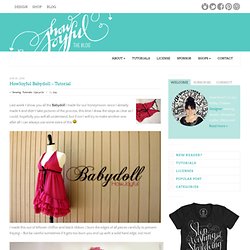
Top Front: The width for this piece is your bust, I added to my measurement 1 inch on each side for the folding, plus 1.5 inches on each side for comfort. [Click Images to Enlarge] I love this top, is so comfortable and the ruffles make me feel very girly Let me know if you make it I will love to see, Happy Sewing! * This tutorial is provided for personal, non-commercial use only. Babydoll – Tutorial. Last week I show you all the Babydoll I made for our honeymoon, since I already made it and didn’t take pictures of the process, this time I draw the steps as clear as I could, hopefully you will all understand, but if not I will try to make another one, after all I can always use some extra of this I made this out of leftover chiffon and black ribbon, I burn the edges of all pieces carefully to prevent fraying – But be careful sometimes if it gets too burn you end up with a solid hard edge, not nice!

This are all the pieces you need to make: [Click on images to enlarge ] You can check more pictures of the one I made HERE! * This tutorial is provided for personal, non-commercial use only. Tags: baby doll, handmade, tutorial. The Shirt Skirt. July 28, 2010 I’m so excited to post about this!

When I met Dana, I fell in love with the skirt she was wearing. She made it herself (obviously) and she showed us how simply she’d shirred the waistband. The next day, during the mystery workshop at Whipstitch, we were encouraged to use thrifted tees. I’m devastatingly terrified of knits so I steered clear and made my (award winning) cotton fabric dress. I developed an idea in my head I thought just might be crazy enough to work. The Hubs thought I was a little crazy when I explained my idea to him. It’s the easiest thing in the world to do! The shirt skirt perfect for summertime. I wore the green and white one to Sofie’s birthday party.
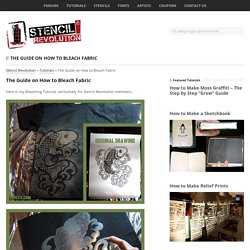
Bleach on fabric tutorial - Stencil Revolution. Here is my Bleaching Tutorial, exclusively for Stencil Revolution members.

In 2002, I was hired by a small clothing company to invent a process by which we could produce images on garments that would be more “tattooed” into the fabric than screened on. I immediately thought about bleach and began two years of research and testing. I worked with chemists, fabric manufacturers, and artists. I wrecked my studio, my clothes, and my lungs. I wasn’t paid nearly enough for this. Chemically, to achieve different values, I worked with retardants to slow the process of the chemical’s effects, I watered down mixtures, I used “stop-baths”, dehydrated bleach crystals… you name it. So, here is the big secret, just for S.R. members. Contributed by Phelyx. I have finally completed this simple tutorial and am pleased with the results. This Japanese Koi design was created specifically for this tutorial.
There are a few basic need-to-know items and suggestions that I can offer. Third: Cheap bleach is fine.