
Just making 40 yards of bias tape over here. Zipper Card Pouch. Have you ever had too many cards that your wallet can handle?
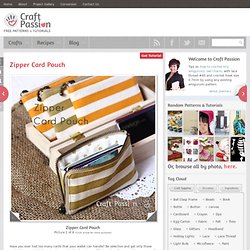
Be selective and get only those cards that you might be using in a particular shopping mall but end up they were the wrong one? Or, may be just forgot to “update” the cards in the wallet on your next trip? Can’t find the cards you thought you have already put into your wallet? Sounds familiar….. If you are nodding your head now, you need a pouch for the cards just like me. I am not a big fan of big wallet, with the increasing numbers of cards that I have, my decent size wallet is no longer able to buckle up. This zipper pouch can hold up to 30 plastic cards (similar to credit cards), and more for thinner cards, business calling card for example.
Get the pattern and tutorial to sew one yourself after the jump and don’t have to struggle with the cards anymore. Gifting DIY: Hot Pads. With the resurgence of handmade gifts this year, why not make these easy hot pads!
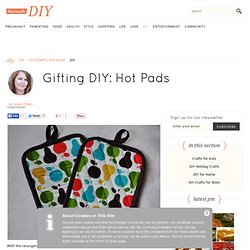
They are a snap to sew up and the fabric combinations are endless. 1/2 yard of top fabric 1/2 yard bottom fabric 1/2 yard Insulbright 2 packages extra wide double fold bias tape Layer the pieces sandwiched together as they would be sewn. Bottom fabric wrong side up, 2 layers of Insulbright, and top fabric right side up Cut out your rough piece of 8.5: wide by 11″ long Draw a diagonal line from the top left to bottom right. Pin along the line and sew a line right down the mark Using your straightedge, draw another line 1″ away from the first line. Continue across the whole piece Now cut the piece down to 7″ wide by 9.5″ long. Using a spool of thread as your guide, round each corner. Easy roll hem.
Next up in the Tips + Tricks series is the easy roll hem.
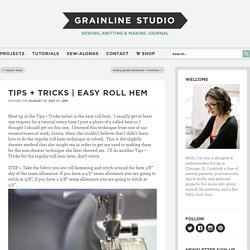
I usually get at least one request for a tutorial every time I post a photo of a rolled hem so I thought I should get on this one. I learned this technique from one of our seamstresses at work, Jurata, when she couldn’t believe that I didn’t learn how to do the regular roll hem technique in school. This is the slightly cheater method that she taught me in order to get me used to making them for the non-cheater technique she later showed me. Alfresco Bowl Covers Tutorial. Last year I was at a picnic organized by my parents.
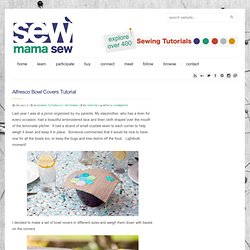
My stepmother, who has a linen for every occasion, had a beautiful embroidered lace and linen cloth draped over the mouth of the lemonade pitcher. It had a strand of small crystals sewn to each corner to help weigh it down and keep it in place. Someone commented that it would be nice to have one for all the bowls too, to keep the bugs and tree debris off the food.
Lightbulb moment! I decided to make a set of bowl covers in different sizes and weigh them down with beads on the corners. Rather than sew the beads on, however, I put eyelets in the corners so the beads could be hooked on and then removed so you can throw the fabric in the wash. The finished cover sizes are 12″, 10″ and 8″. Half yard of fabric (total) for the tops.Half yard of fabric for the bottoms. Gathered Clutch Tutorial. Anna of Noodlehead is sharing the most beautiful gathered pouch tutorial.
What a perfect gift! Anna has plenty of gorgeous gift giving inspiration at her blog. Don’t miss her tutorials! If you love pouches you might also like these zippered pouch tutorials! Pleated Zippered Pouch Lined Zippered Pouch How To Make A Gathered Zippered Pouch Materials needed: 1/4 yard each of three coordinating fabrics (you’ll definitely have scraps leftover)8″ zipper (you can always purchase a longer zipper and shorten it, just follow the directions on the packagescraps of medium weight fusible interfacing Cutting the pieces: For the main exterior, cut two pieces, one 5.5″ tall by 9″ wide, and one 5.5″ tall by 13″ wide (this will be the gathered front) Pieces of medium weight fusible interfacing for exterior pieces of clutch: (2) 5.5″ tall by 9″ wide For the front band, cut one piece 4″ tall by 9″ wide.
Turn tube right side out and press with seam in the middle. Grab the 13″ wide main exterior piece. Cozy Kid's Roll-Up Nap Blanket - Sew4Home. When we're little, we simply have no idea have wonderful it is to be able nap.
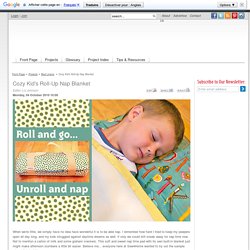
I remember how hard I tried to keep my peepers open all day long, and my kids struggled against daytime dreams as well. If only we could still sneak away for nap time now. Not to mention a carton of milk and some graham crackers. This soft and sweet nap time pad with its own built-in blanket just might make afternoon slumbers a little bit easier. Believe me... everyone here at Sew4Home wanted to try out the sample when I finished it! The Wee Woodland flannels we chose are by Keiki for Moda Fabrics. The amount of flannel listed below is actually enough to make two cuts from each fabric. We always recommend pre-shrinking, but especially stress it when working with flannel. Thanks to our friends at Fat Quarter Shop for providing the Wee Woodland fabric for this project. Any Sewing Machine (we recommend the Janome Memory Craft 5200)Even Feed or Walking foot: optional, but helpful to sew through multiple layers.
How To: Make a Hanging Book Display Megan's February Jumpstart Project 2009. Previous image Next image Title: Hanging Book Display Name: Megan Time: 1-4 hours, depending on how handy you are with a sewing machine and tools Cost: $5-10 for fabric, $13 for hardware/dowels.
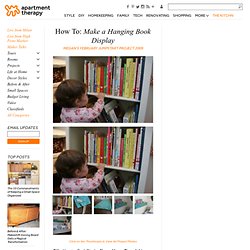
More if you don't have basic tools and sewing supplies A great solution to help pre-readers to choose their own books.. It's A Cinch: Fast & Fab Webbing Belts for Kids and Adults. During American Idol this past season, General Larry Platt gained his fifteen minutes of fame with a wild rendition of the song, Pants on the Ground.

"Pants on the ground, pants on the ground, lookin' like a fool, with your pants on the ground. " Proving a) we will watch just about anything, and b) these super fast and easy webbing belts are a must-have to keep you and everyone you know from lookin' like a fool. I made all four of these belts in under an hour. As I was whipping them out, I was making a mental gift list of who would get the wide printed-webbing version and who gets the cute-as-pie webbing and ribbon version. Webbing comes in just about every color of the rainbow, and don't get me started on all your choices for ribbons. Any Sewing Machine (we recommend the Janome Jem Gold 3) The belt-wearer's size, and how he/she will wear the belt, determine the amount of webbing and ribbon needed.
In our examples below, we wanted a hip hugger belt for the adults. Simple Winter Sewing Project: Hot Rice Bags. Warm face, warm ‘ands, warm feet Aow, wouldn’t it be loverly?
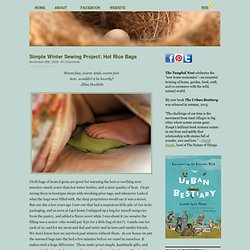
–Eliza Doolittle Cloth bags of heated grain are great for warming the bed or soothing sore muscles–much cozier than hot water bottles, and a nicer quality of heat. I kept seeing them in boutique shops with shocking price tags, and whenever I asked what the bags were filled with, the shop proprietors would say it was a secret.