

Hårnålar och gamla knappar – Bobby pins and old buttons. Hårnålar och gamla knappar har kanske de flesta av oss hemma i gömmorna?
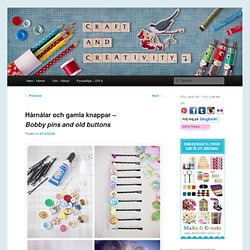
Sy fast knapparna på hårnålen, droppa dit lite superlim för att ge extra stadga och vips – nya, fina hårspännen! Visst låter det nästan som en titel på en Agatha Christie-bok “Hårnålar och gamla knappar”, ungefär som “Arsenik och gamla spetsar”… ——I guess most of us have some bobby pins and old buttons laying around in the house. Sew the buttons on to the bobby pin, add some super glue to provide extra stability and voilá – new, pretty hair pins! “Haripins and old buttons”… It kind of has the same feeling to it as that old Agatha Christie murder story – “Arsenic and old lace”. Du behöver: Synål, sytråd, knappar, hårnålar och lim (jag använde superlim “Super Glue”). How to make a Peruvian Wave Friendship Bracelet. Having written an article recently about making the most simple Friendship Bracelet, I wanted to quickly follow it up with my favorite Friendship Bracelet design.
It is a design that I was not aware of way-back-when in school, when making these bracelets was so popular. The design is also surprisingly simple. I have taught the technique to a group of 8-10 year olds and they picked it up easily. I'll have you knotting in no time! Materials Needed 4 or more different colors of embroidery flossTape or a clipboardScissorsDepending on your taste, a thicker piece of cord, string, or even a shoe lace. The great thing about this project is that is inexpensive. Step 1: Cut your thread Cut approximately 30 inches of each color of embroidery floss. You will be tying these thread to one central cord. Summer Kiwi Wristlet. DIY projects made from everyday objects.
I always have trouble tossing empty Altoids cases, because they make the perfect mini containers for so many little things.
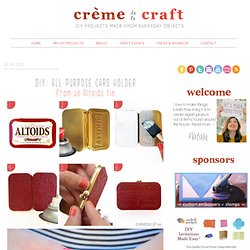
And when I realized they were the ideal size for holding credit cards and business cards, the DIY light bulb went off flashing in my head. I now use my upcycled Altoids tin to carry all my essentials including my ID, credit card, cash, lipstick and sticks of gum...yup, they all fit! You can use these little cases for just about anything including gift cards, office supplies, first aids kits, and my personal favorite, a mouse tin house. So get creative and fill it up with all your mini treasures! With a little bit of paint and handmade love, it's so easy to turn these plain tins into adorable embellished containers.
The SweetTalk Shop: {SweetTalk Shop} Sweet & Easy Craft Saturday. Little stars. Since the new year has started I’ve been trying to think of ways to be more kind to my self.
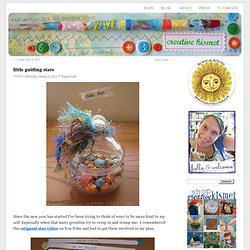
Especially when that nasty gremlins try to creep in and stump me. I remembered this origami star video on You Tube and had to get them involved in my plan. I thought it would be fun to make a whole bunch with kind words and “you are….” phrases inside. I made 60 of them, enough to last me the whole year if I open one a week, plus a few extra just in case. I used 12 x 12 inch scrapbook paper and cut 1/2 x 12″ strips, then followed the video HERE*.
Friendship Bracelets. DIY: Earring Holder. Great DIY Gift Idea for anyone in your life! Two Tips Tuesday. Tip #1: Two Tier Plate Stand This was so simple and fun to make.
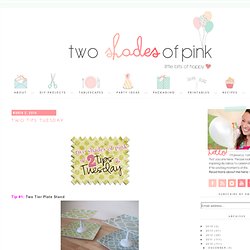
No Sew Eyeglasses Case: Good Living Magazine Project #1. I am so excited to share this easy peasy tutorial!
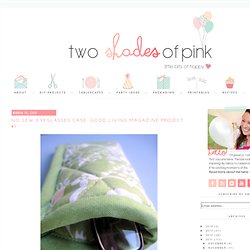
I have gone back and forth on when to post these projects but the magazine I craft for has been a bit ambiguous on their actual print date but the article and three crafts I made direct back to this blog for the tutorials in the march archives. And they are more geared towards Easter and Mother's Day so sorry if this is kind of early. But having finished tutorial posts just sitting there waiting to be published is hard! Girl's Survival Kit. DIY Wrapped Headphones.
I’ve been traveling for the majority of the past couple weeks, so bear with me as I get back on my DIY feet… I have a really easy, fun project for you today!
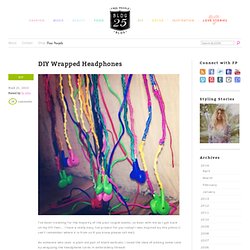
I was inspired by this photo (I can’t remember where it is from so if you know please tell me!). As someone who uses a plain old pair of black earbuds, I loved the idea of adding some color by wrapping the headphone cords in embroidery thread! What you need: headphones, embroidery thread and scissors Select which colors, and how many, you want to use. DIY Sweat-sacoche diy – the Trendy Girl. Make Your Own Floral Suitcase! Plain vintage suitcases are pretty great but cover them in your favorite coordinating fabrics and your house just got cuter! Not only do they look cute in your home, they're great photo props. Decorate a nursery, stack them high in your living room, stand them up behind other items on a shelf, etc. It's an easy way to add color to your space without investing a lot of money. Keep an eye out for hard cases with stitched seams (for tucking fabric in) and think about using a variety of sizes for great impact.
You no longer have to pass up the perfect case shape because of a nick in the vinyl! First, gather your supplies. , a paint brush, a pen, scissors, a rotary cutter (or a butter knife). Carefully spread a thin layer of Mod-Podge over one third of your case starting at one side.