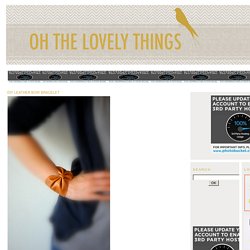

DIY Leather Bow Bracelet. You will need : - A piece of leather, approx. 22cm x 10cm (approx. 8.7" x 4") - Scissors - Leather glue or super glue - Thread - A snap button 1.

Cut an oval piece of leather, approx. 22cm x 10cm (approx. 8.7" x 4"). You can make it longer or smaller, depending on the size of your wrist. 2. Form a bow. Shabdismyname. Blog Archive » DIY FLOWER CROWN. I recently did a mini “spring-inspired” shoot with Taryn and Shelby of Joielala (which mean a handful of fun lookbook posts will be coming to the blog over the next few weeks!)

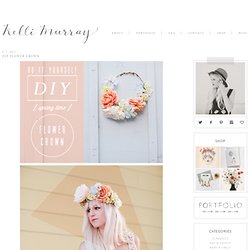
This is just a sneak peak of one of the looks because I wanted to do a quick tutorial on how I created this pastel flower crown. They make such a statement and are great for weddings, special occasions, or…just because! Below are the steps on how to create one for yourself. Bijoux géométriques Depeapa. Anne Thomas: Bijoux et accessoires. TRENDLAND: FASHION & TREND BLOG + ART + DESIGN + PHOTOGRAPHY.
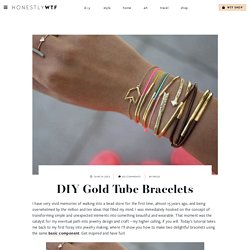
DIY Gold Tube Bracelets. I have very vivid memories of walking into a bead store for the first time, almost 15 years ago, and being overwhelmed by the million and ten ideas that filled my mind.

I was immediately hooked on the concept of transforming simple and unexpected elements into something beautiful and wearable. That moment was the catalyst for my eventual path into jewelry design and craft – my higher calling, if you will.